
Last updated September 20, 2026
Full 25-point door and opener safety check with every visit - springs, cables, rollers, tracks, and your LiftMaster or Chamberlain opener included
You get a price before we start. It does not change when the truck arrives.
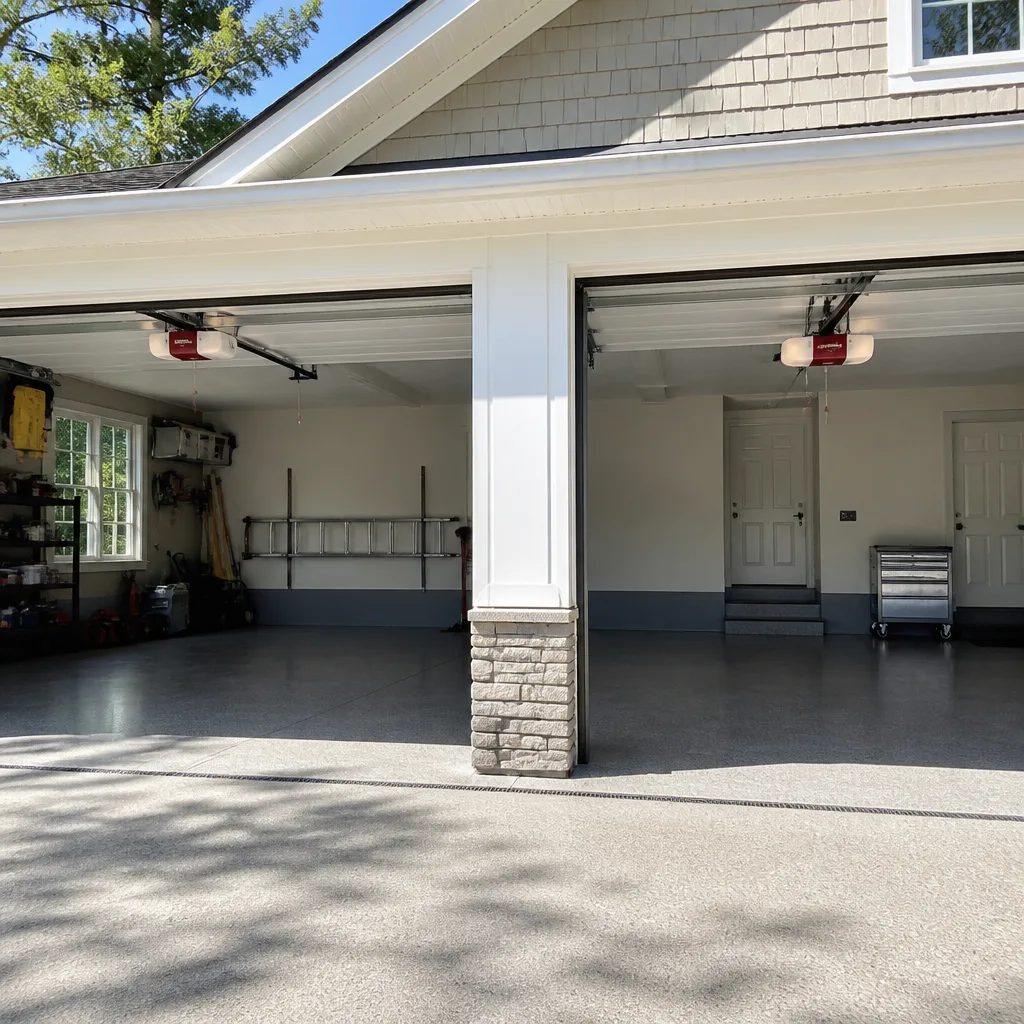
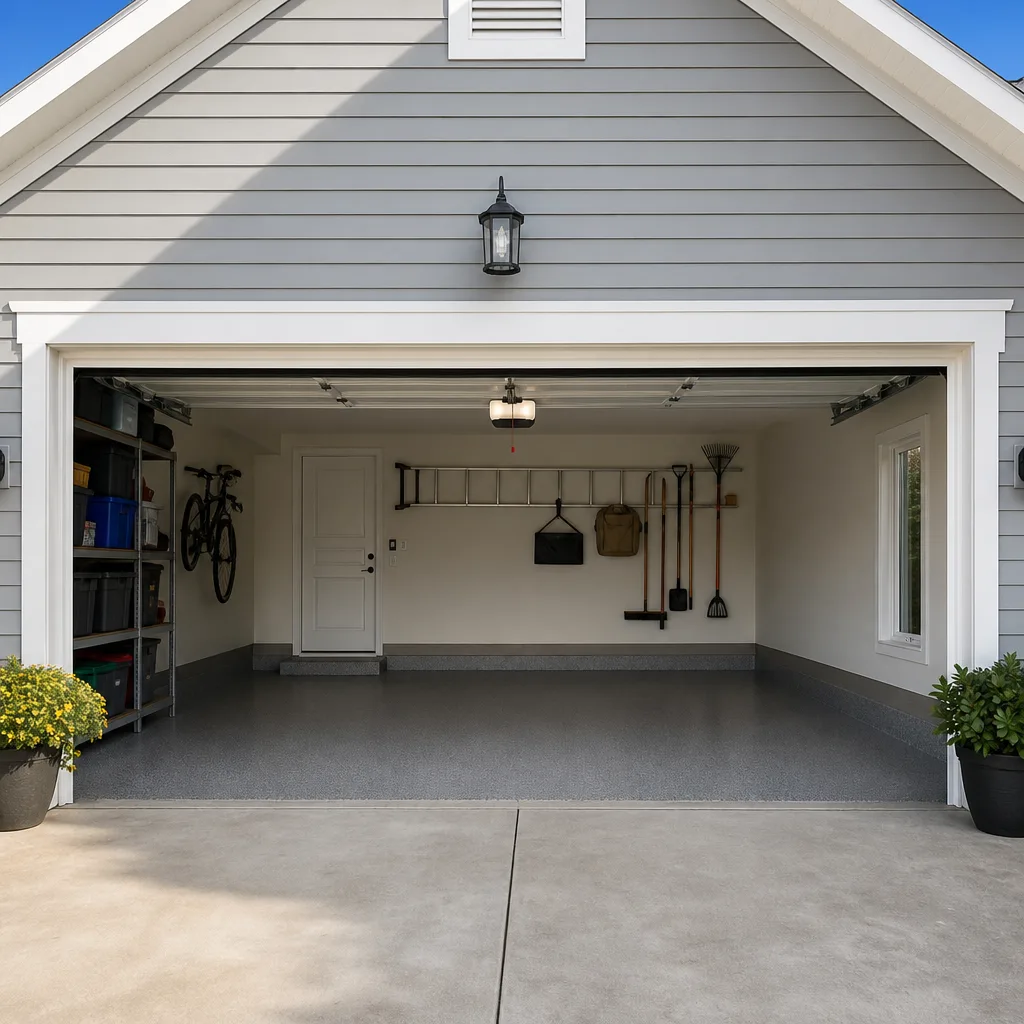
 Before
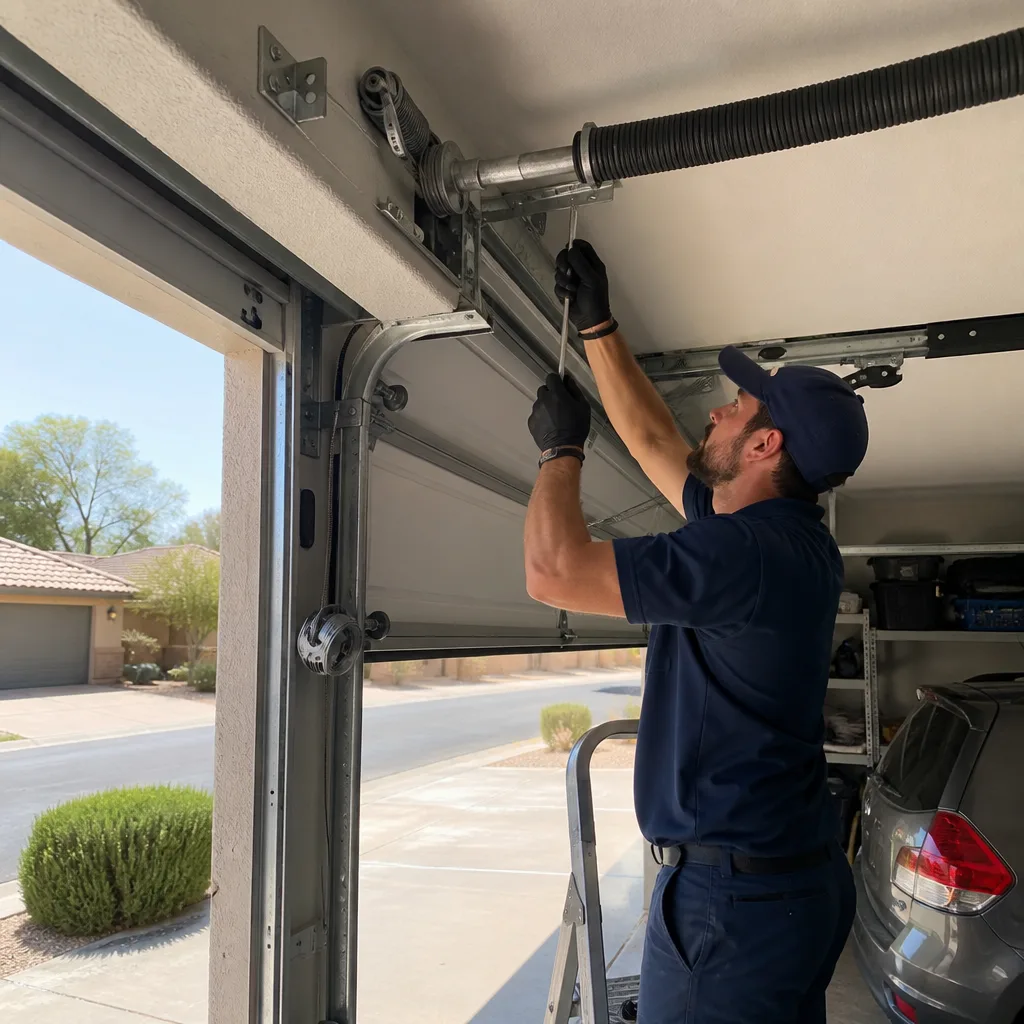 After
After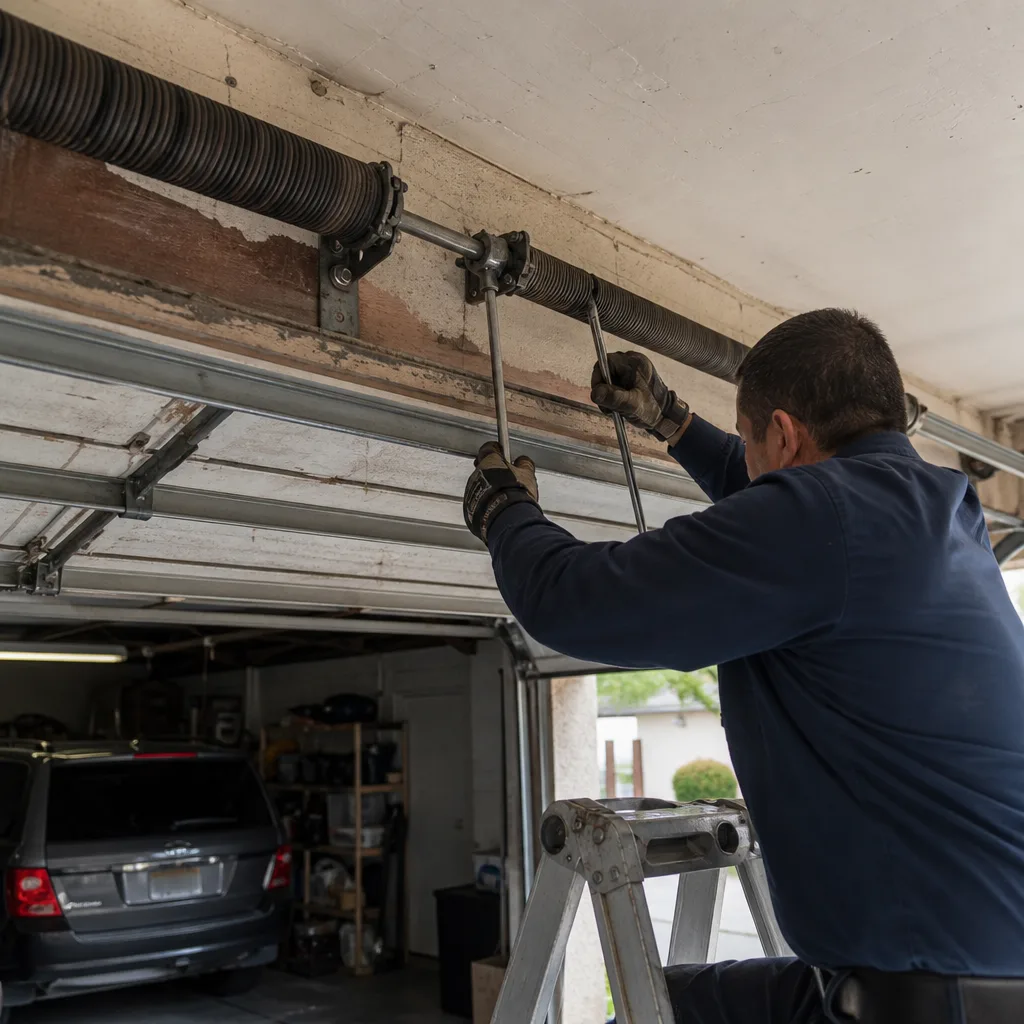 Before
 After
After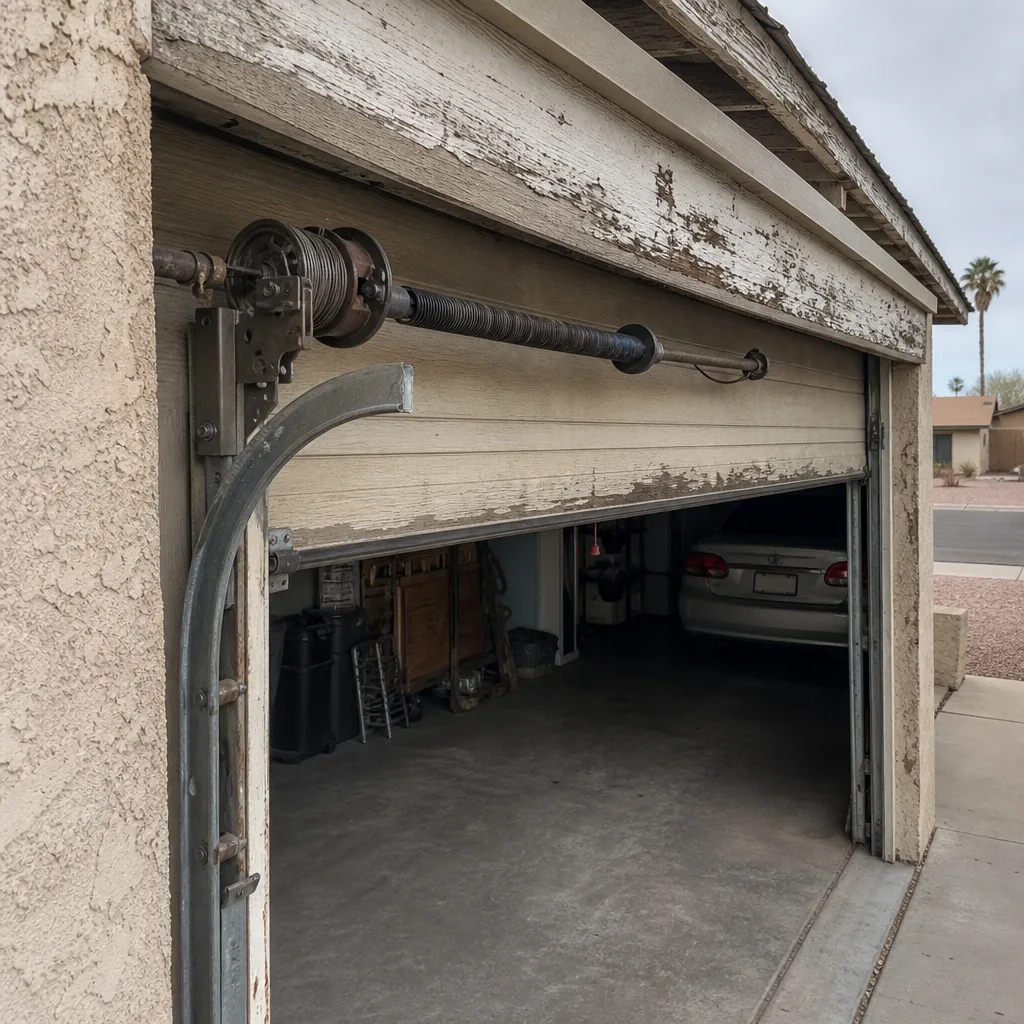 Before
 After
AfterDIY vs Professional Garage Door: The Tempe Homeowner’s Decision Guide
Garage door DIY content is almost always written at one of two extremes: “you can do everything yourself” or “never touch it, call a pro.” The accurate answer is a task list. Some jobs on a garage door are genuinely low-risk, require fifteen dollars in parts and twenty minutes of time, and will save you a service call. Two jobs are dangerous enough that no amount of YouTube confidence changes the physics. This guide separates the tasks, names the tools and parts you actually need, and explains what happens in Tempe specifically when a summer heat wave makes your opener behave like it’s failing when it isn’t. For a complete seasonal maintenance checklist, see our dedicated resource. By the end, you’ll know which four tasks to handle yourself, which two to never touch, and what documentation you’re giving up when you choose DIY.
Quick Answer
Most garage door maintenance in Tempe is safe for a careful homeowner: replacing a bottom seal, cleaning photo-eyes, lubricating rollers and hinges, and reprogramming a keypad. Torsion spring adjustment and cable replacement are not DIY tasks under any skill level. The spring stores enough energy to kill or maim, and the cable is under the same tension. For everything else, the decision comes down to whether you want a paper trail with your repair or not.
Table of Contents
- The Task-Level Risk Matrix: What’s Actually Safe to Touch
- Torsion Springs and Cables: Why These Two Jobs Are Never DIY
- The Tempe Heat Factor: Opener Resets That Aren’t Actually Broken
- The Four DIY-Appropriate Tasks, With Exact Specs
- When DIY Goes Wrong: The Three Most Common Tempe Mistakes
- The Documentation Argument: What a Professional Gives You That DIY Can’t
- What These Jobs Cost in Tempe: Professional vs DIY
BeforeAfterThe Task-Level Risk Matrix: What’s Actually Safe to Touch
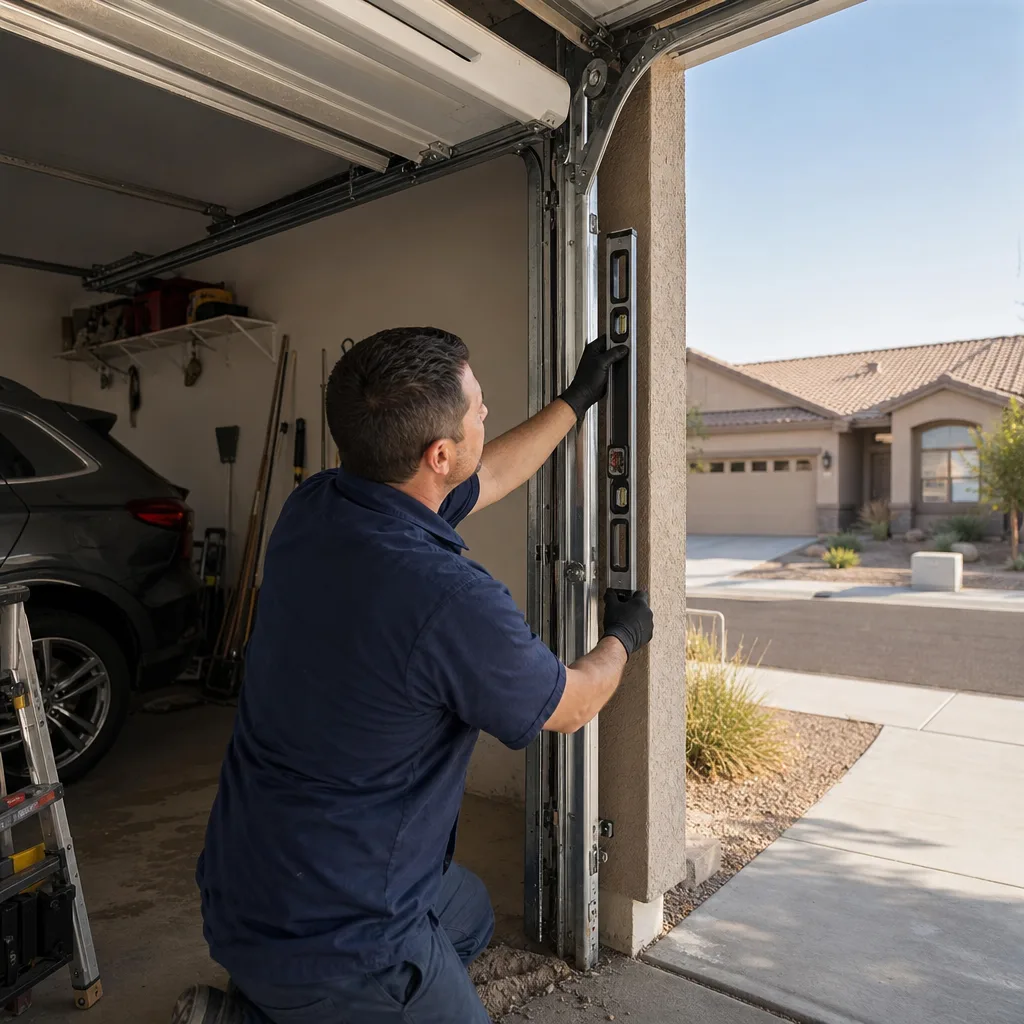
We’ve repaired garage doors in Tempe for ten years, and the pattern is consistent. The homeowners who call us after a DIY attempt fall into two groups: those who saved $90 on a simple seal replacement and those who spent $400 fixing a $12 mistake on a spring. The difference between those groups is rarely mechanical aptitude. It’s a misunderstanding of where the stored energy lives in a garage door system.
Here’s the breakdown. A garage door has roughly eight components a homeowner might consider touching. We’ve sorted them by consequence.
Low risk, DIY appropriate
- Bottom seal replacement: No tension involved. The door is up, the old seal slides out of the T-channel, the new one slides in. Consequence of error: a drafty gap at the bottom of the door, fixed by doing it again.
- Photo-eye cleaning and alignment: Wipe the lenses with a dry cloth, check that the small LED on each eye is lit, and nudge the bracket until they’re pointed at each other. Consequence of error: the door refuses to close, which is annoying but safe.
- Roller and hinge lubrication: White lithium grease on the hinges, silicone spray on the rollers. Ten minutes with a step stool. Consequence of error: you used the wrong lubricant, which we cover below.
- Keypad reprogramming: Follow the manufacturer instructions, hold the learn button on the opener, enter a new code. Consequence of error: you can’t open your garage door, then you call us and we fix it in fifteen minutes.
Moderate risk, situational
- Track alignment after a minor bump: If a car nudged the door and the roller is dragging, a track adjustment can be straightforward. But track work involves loosening bolts that hold the track to the wall, and if the door has torsion springs, the bracket system is part of that assembly. This one depends on what exactly got hit.
- Opener force setting adjustment: Most openers have a dial or button for downforce. If the door reverses off the floor for no reason, a small adjustment can fix it. But overcorrecting means the door won’t reverse when it hits something, which is a safety failure. This is a “read the manual twice” job, not a “wing it” job.
- Panel dent repair: A dented panel can sometimes be popped back out with a rubber mallet and a block of wood. But panels under load can come off their hinges if you’re hammering at the wrong angle, and some Tempe homes with west-facing doors have panels that are already heat-warped, which makes them more fragile than they look.
Never DIY, no exceptions
- Torsion spring adjustment and replacement
- Cable replacement and re-routing
We’ve put the two dangerous jobs in their own section below, because they deserve more than a bullet point. The short version: these are the only tasks on a garage door where “I was careful” does not change the consequence of an error.
For reference, a Garage Door Repair in Tempe visit starts with a diagnosis, not a parts list. We want to tell you what actually failed before we talk about what it costs to fix. That’s Clause 4 of The Haven Standard, which is the operating standard we work to on every job: the technician photographs the failed component before quoting a replacement. You see what we see.
Torsion Springs and Cables: Why These Two Jobs Are Never DIY
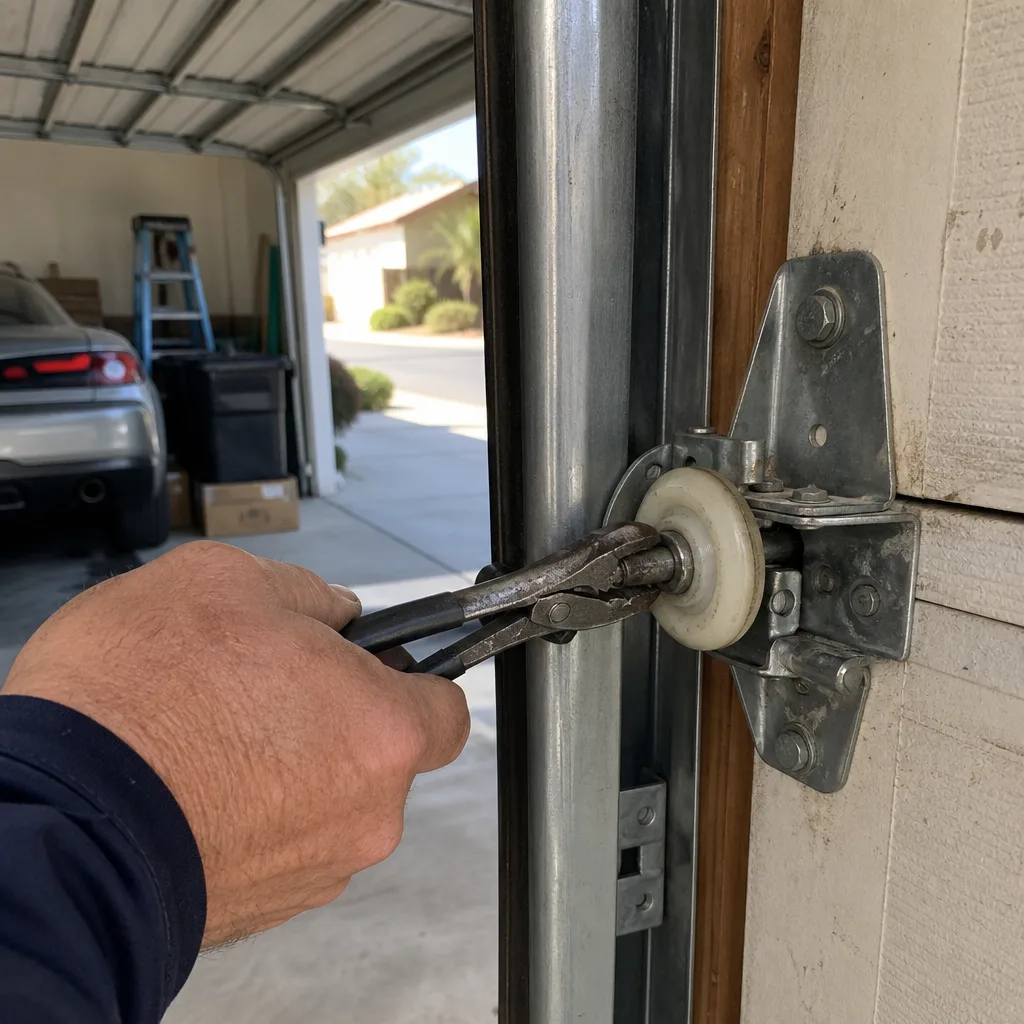
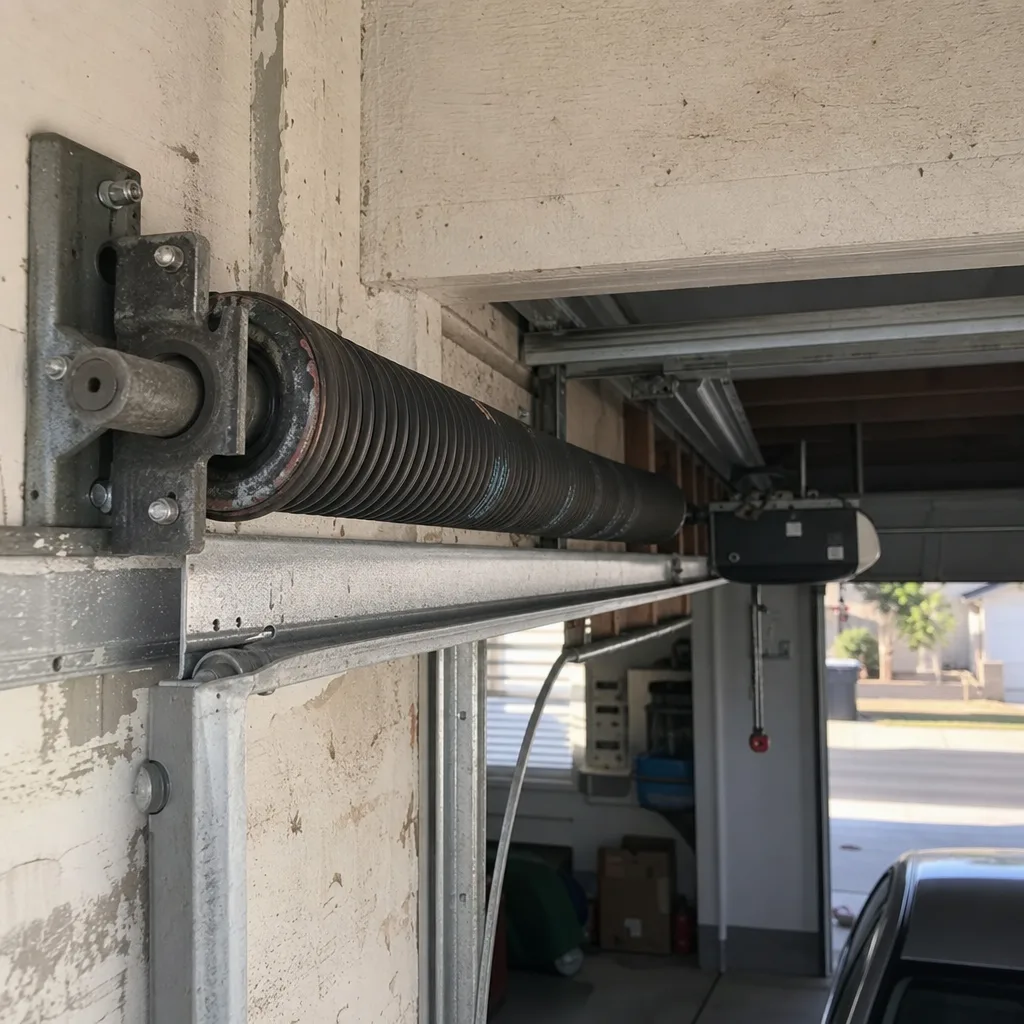
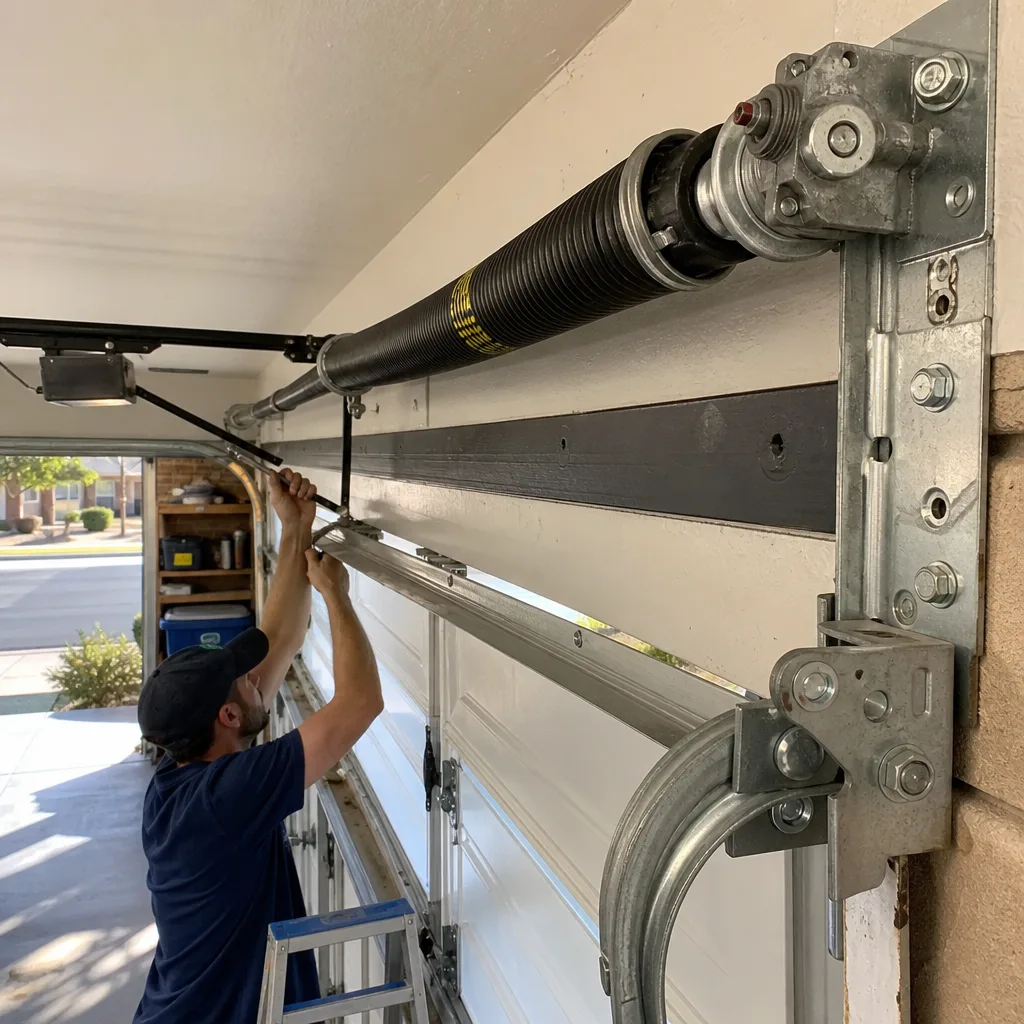
Most Tempe homes built in the last thirty years use a torsion spring system. The spring sits on a metal shaft directly above the door opening, and it counterbalances the full weight of the door. A standard two-car garage door weighs between 350 and 450 pounds depending on material. The torsion spring holds all of that weight in stored rotational energy, and it’s under full tension whether the door is open or closed.
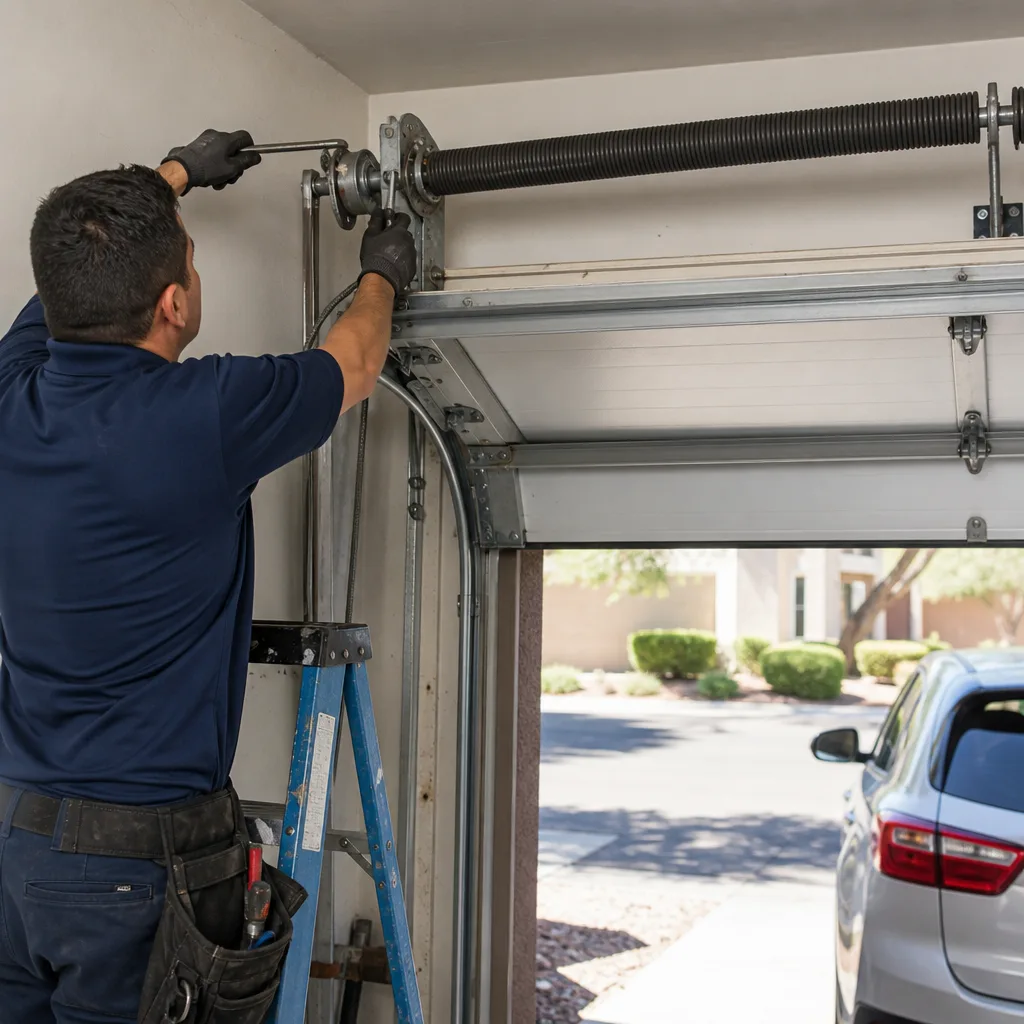
The reason this matters: when a torsion spring breaks, it releases that stored energy instantly. If you’re standing next to it with a winding bar at the wrong moment, the bar becomes a projectile. The injuries we’ve read about in our industry are not minor. They are crushing injuries to hands, lacerations to the face, and worse. There is a reason every garage door technician in Tempe uses specific-length winding bars that fit the winding cone exactly, and why we never improvise with a screwdriver or a piece of rebar.
Cable replacement carries a related but distinct danger. The cables run from the bottom brackets of the door up to the drum at each end of the torsion shaft. They carry the same tension load the springs do. If a cable snaps, it whips. If you detach a cable while the spring is still wound, the spring unwinds violently. The only safe way to work on cables is to first release the spring tension using winding bars, which brings us right back to the dangerous part.
In our experience, this is the point where a homeowner’s confidence is irrelevant. We’ve talked to mechanical engineers, welders, and one professional rock climber who all assumed they could manage a spring replacement and all called us after realizing what the job actually required. The tooling alone, a proper set of tempered winding bars, is not something most people own, and a substitute is worse than nothing.
If you hear a loud bang from the garage and find a broken spring, the door will not open. You can still call Servo Garage Doors Tempe home at any hour and we’ll walk you through what to check by phone before we dispatch. We answer 24/7 with a live person, including on holidays, because a broken spring means your garage is either unusable or, worse, unsecured if the door is stuck open.
The Tempe Heat Factor: Opener Resets That Aren’t Actually Broken
Here’s the most Tempe-specific piece of knowledge in this guide, and it saves people money every summer. When the outside temperature tops 110 degrees, your garage interior can reach 130 to 140 degrees, especially on a south-facing home. Most garage door opener motors have a thermal protection circuit that shuts the motor down when it gets too hot. The symptom is that your opener works fine for one or two cycles, then suddenly stops responding. You hear a click or nothing at all. The lights on the unit may be out. The wall button does nothing. You assume the opener died.
Most of the time in Tempe in July and August, it didn’t die. It overheated. The reset procedure costs nothing and takes about fifteen minutes.
- Stop pressing the wall button. Every additional attempt heats the motor further.
- Unplug the opener from the ceiling outlet. Wait 20 to 30 minutes. This is the thermal protection window.
- If possible, open the garage door manually using the release handle the red cord hanging from the trolley to vent the heat.
- After 30 minutes, plug the opener back in and test it with one full open-close cycle. If it runs normally, the problem was heat, not equipment failure.
- If it shuts down again after one cycle, the motor is genuinely overheating past design tolerance and you should call a professional before the logic board takes damage.
We get this call constantly in July. A homeowner is convinced their LiftMaster or Craftsman opener is dead. We run through the reset over the phone, and in roughly half the cases, the opener is fine. The service call that would have cost $85 to $120 for a visit is avoided entirely. The other half need a real diagnosis, usually because the opener is 12 to 15 years old and the capacitor or logic board has heat fatigue.
This matters for the DIY question because it’s a case where the right DIY response is “do nothing for 30 minutes” and the wrong professional response is “we’ll send a technician out immediately.” A company that dispatches a truck without walking you through the thermal reset first is charging you for something we consider part of the phone call. That’s not what good service looks like in this market, and it’s a reason to keep a reputable Garage Door Opener Repair & Installation in Tempe option saved in your phone.
The Four DIY-Appropriate Tasks, With Exact Specs
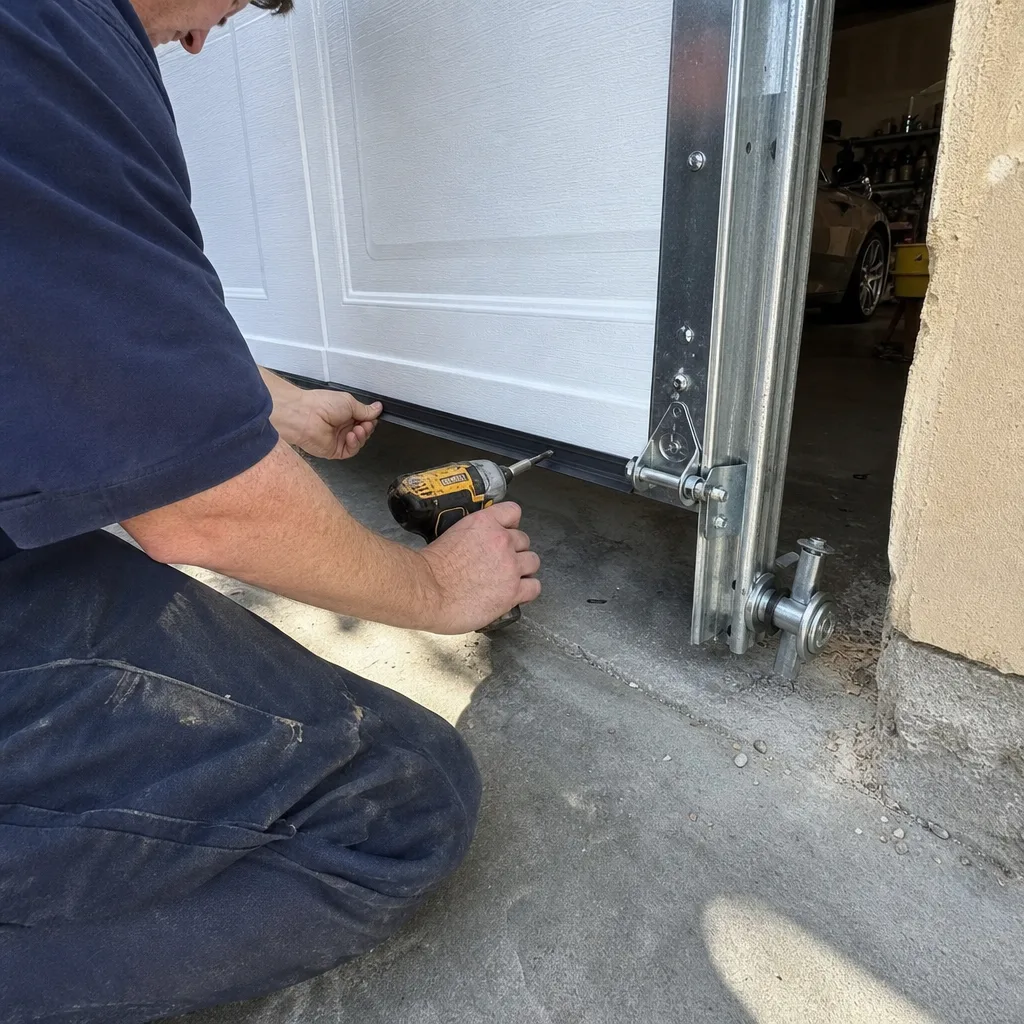
If you’re going to do these jobs yourself, do them with the right parts. Misapplied hardware is the number one reason a $15 DIY job becomes a $150 professional correction. Here are the specific specs for each task.
1. Bottom seal replacement
The bottom seal on most doors is a T-shaped bulb seal that slides into a retainer channel on the bottom panel. The two common sizes are 3/8-inch and 1/4-inch for the T portion. Measure the width of the channel on your current seal before you buy, because buying the wrong T-size means the seal won’t seat. For Tempe, choose a rubber compound rather than vinyl. Vinyl hardens in the heat over two or three summers and cracks. Rubber stays flexible. Brands like Amarr and Wayne Dalton use slightly different channel profiles on their doors, so a universal seal is usually fine but a door-specific seal will seat better if you know your door brand.
- Close the door completely and unplug the opener.
- Find the end of the old seal where it meets the retainer. It either pulls straight out of the channel or has a screw or retaining clip at each end.
- Lubricate the new seal’s T-portion with a small amount of dish soap in water. This helps it slide.
- Feed the new seal into the channel and pull through to the other end.
- Trim the excess with a utility knife, leaving a half inch of extra material on each side so the seal doesn’t shrink back into the channel in winter.
Tools needed: utility knife, tape measure, dish soap, pliers if the old seal is stuck. Cost: $15 to $40 for the seal. Time: 20 minutes.
2. Photo-eye cleaning and alignment
The photo-eyes, also called safety sensors, sit in small brackets about six inches off the floor on each side of the door opening. Each eye has a small lens and a smaller LED light. One eye sends an infrared beam, the other receives it. If the beam is blocked or misaligned, the door refuses to close or reverses immediately.
- Wipe both lenses with a dry or slightly damp cloth. Do not use chemical cleaners they can cloud the plastic lens.
- Check the LED on both eyes. A steady light means power and alignment are good. A blinking light means the eye either has power but no alignment or has a wiring issue.
- If one light is blinking, loosen the small wing nut on the bracket and rotate the eye slowly while watching the receiving light. When they align, the blinking stops and the light goes steady.
- Tighten the wing nut gently. Over-tightening cracks the bracket, a mistake we see regularly.
In Tempe, dust is the most common culprit. Monsoon season kicks up fine silt that coats the lenses. Even if the lenses look clean from three feet away, they can have a film that blocks the infrared beam. Cleaning both eyes every three months is good practice out here.
3. Lubrication
Use white lithium grease on hinges and the torsion spring itself. Use silicone spray on rollers, bearings, and the opener rail. The distinction matters.
Here’s why: hinges are metal-on-metal pivot points under load, and white lithium grease is thick enough to stay in place under that load. Rollers are either nylon or steel, and silicone spray lubricates without attracting dirt. If you use WD-40 on anything, you’re not lubricating the door; you’re cleaning it, and then the clean metal grinds against itself without protection. If you use spray grease on rollers, the grease attracts dust, and within a month in Tempe, the dust acts like sandpaper on the roller bearings. That’s the most common lubricant mistake we correct.
- With the door closed, spray the hinge pivots on each panel where the metal plates meet. Two to three short bursts per hinge, no more.
- Open the door manually using the release handle and spray the torsion spring along its full length, rolling the spray as you go.
- Spray each roller where the stem meets the wheel, and where the wheel rides in the track. Silicone only here.
- Run the door through two full cycles to distribute the lubricant.
The whole job takes ten minutes. Do it twice a year in Tempe our heat dries out lubrication faster than coastal climates. Cost: $8 to $12 in supplies.
4. Keypad reprogramming
Every major brand, including LiftMaster, Chamberlain, Genie, and Craftsman, uses a similar sequence: locate the learn button on the opener motor unit, press and release it to enter programming mode, then enter the new code on the keypad within 30 seconds. The exact steps vary by model, so pull up the manufacturer’s PDF manual online and follow it exactly. The mistake we see most often is pressing and holding the learn button, which resets the unit instead of entering programming mode. A quick press is all it takes.
If the keypad is older than about eight years, the internal battery is probably dead, not the programming. Most keypads have a 9-volt battery behind the cover. Replace it before you try to reprogram. Cost: $3 for a battery, $0 for reprogramming.
When DIY Goes Wrong: The Three Most Common Tempe Mistakes
We correct these three specific mistakes more than any others. Each one starts as a reasonable DIY attempt and ends with a professional repair that costs more than just calling someone in the first place would have.
Mistake 1: Using the wrong lubricant
The homeowner sprays WD-40 on the rollers and hinges, or sprays chain lube on the torsion spring, and a month later the door is grinding and the rollers are worn to the point of replacement. A set of ten roller replacements runs $150 to $250 installed in Tempe, and the original lubricant cost maybe $8. The correction is replacing the rollers because once the bearings are dust-gritted, cleanup can’t restore them.
Mistake 2: Over-tightening the opener limit screws
When a door doesn’t close all the way, the natural instinct is to adjust the down limit on the opener. A quarter turn usually fixes it. But an over-adjustment means the door now presses against the floor hard enough to strain the opener. In the best case, the safety reversal catches it and the door bounces back. In the worst case, the door closes on a car bumper or a child’s bike and the reversal doesn’t trigger because the limit was set too far. The fix is a realignment and a replacement of whatever got crushed. The time cost of doing it wrong is worse than the service call.
Mistake 3: Realigning track after a dent, without checking the panel
Someone backs into the garage door. The bottom panel gets a dent, and the door starts binding on the way up. The homeowner loosens the track bolts and shifts the track to clear the bind. The door runs smoothly again. Then, three weeks later, the dented panel cracks at the corner because the panel was structurally weakened and the track adjustment masked the damage instead of addressing it. A panel replacement costs $400 to $800 depending on the brand and size. A track adjustment alone typically runs $150 to $250. The DIY fix saved money for three weeks.
In our experience, the difference between a $200 correction and a $600 correction is usually whether the homeowner stopped when the door ran smoothly and declared victory. The right sequence after an impact is: inspect the panel for cracks around the dent, check the roller stems for bends, confirm the tracks are still plumb, and then adjust for smooth operation. If you skip the inspection, you’re fixing the symptom.
If you already have Garage Door Installation in Tempe work on your mind because your door is older, a professional evaluation can tell you whether a panel replacement makes more sense than continued patching. Sometimes the door’s age makes the repair economics obvious.
The Documentation Argument: What a Professional Gives You That DIY Can’t
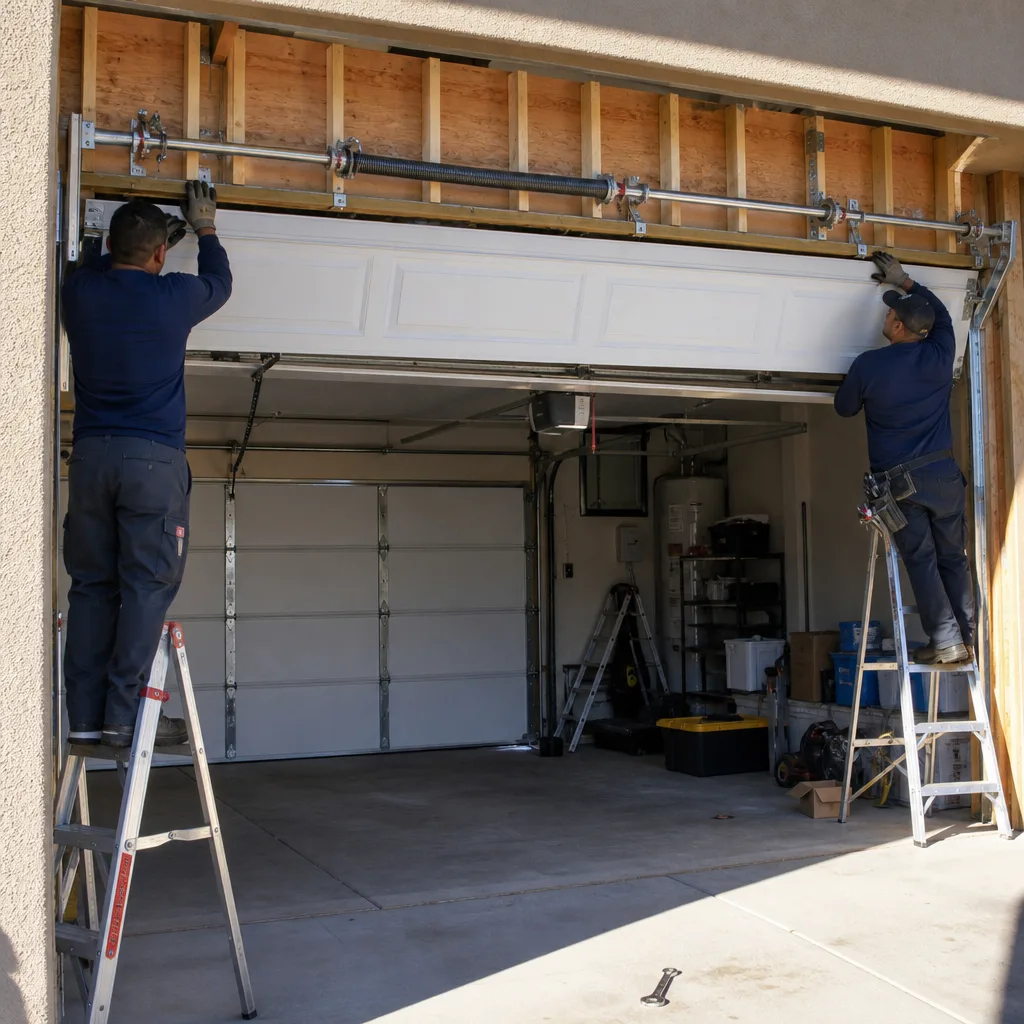
This is the part of the DIY conversation most guides skip entirely, and it’s the part that matters most when you’re about to sell your house.
Every professional garage door repair generates a paper trail. The work order names the component that failed, the part that was installed, the labor performed, and the warranty period. If that repair fails, you have a written record to present for warranty service. If you sell the house, you have documentation showing the door was properly maintained and repaired, which is a disclosure item that can matter during inspection.
A DIY repair generates none of that. You bought a seal at a hardware store. You installed it. If it fails, the replacement is on you. If you sell the house and the inspector notices a door issue, you have no record of what was done or when. The difference becomes visible at the worst possible time: during a buyer’s inspection, or when a warranty claim is denied because you can’t prove the repair was done correctly.
The photo record is the other half of this. Every Servo visit in Tempe includes photographs of the failed component before repair and the completed work after. You see exactly what the technician saw, which means you can verify the diagnosis independently. Clause 4 of The Haven Standard exists because our founder, Marcus Deller, started this company in 2015 with a simple rule: the customer sees the broken part before anyone quotes a replacement. That rule is now codified, and it means you don’t have to trust a stranger’s word about what’s wrong with your door.
When you choose DIY, you’re trading away documentation. For a bottom seal, that’s a fine trade. For a spring replacement, it’s a terrible one, because the reliability of the repair is what keeps the door from coming down on someone.
Raynor and Wayne Dalton are two brands we service regularly in Tempe, and both have specific warranty language that requires professional installation for certain components. If a torsion spring fails under warranty, a DIY attempt to fix it voids that warranty immediately. The same applies to opener logic board replacements on LiftMaster and Chamberlain units. The manufacturer’s fine print matters more than most homeowners realize.
What These Jobs Cost in Tempe: Professional vs DIY
Let’s put actual numbers on this. The table below shows the typical cost range for each job type, done as DIY versus professionally. Tempe pricing reflects what we see in the market across the East Valley in 2026.
- Bottom seal replacement: DIY $15 to $40 in parts. Professional $85 to $150. Time saved by DIY: about an hour and $60 to $110. Sensible DIY choice.
- Photo-eye cleaning and alignment: DIY $0 to $5. Professional $75 to $120. This is a five-minute job. Always DIY unless the sensor itself is dead.
- Lubrication: DIY $8 to $12. Professional $60 to $90 as part of a tune-up visit. DIY twice a year, and use the right products.
- Keypad reprogramming: DIY $0 to $30. Professional $60 to $110. DIY unless the keypad is dead and needs replacement, at which point the part is $40 to $80.
- Track adjustment after an impact: DIY $0 but risky. Professional $150 to $250. This is situational. If you’re comfortable checking plumb and panel integrity first, DIY is possible. If not, the professional call is the safer route.
- Roller replacement: DIY $30 to $60 in parts but the door must be braced and the bottom bracket rollers are under cable tension. Professional $150 to $250. If you have to ask whether the bottom bracket is under tension, call a professional.
- Torsion spring replacement: NOT DIY. Professional $280 to $450 in Tempe depending on spring type and door weight. This is the job where the professional price is the only safe price.
- Cable replacement: NOT DIY. Professional $180 to $320 depending on whether one or both cables are replaced. Same tension physics as the spring.
Here’s the pricing principle we work to, and we think it’s the only honest one in this industry: the price is written and agreed before any work starts. You’re not paying for a time window. You’re paying for a job scope, a specific set of parts, and a warranty period. If the technician finds something unexpected, the new scope is written and agreed before the new work starts. That’s Clause 1 of The Haven Standard, and it means the bill never surprises you.
Common Mistakes to Avoid
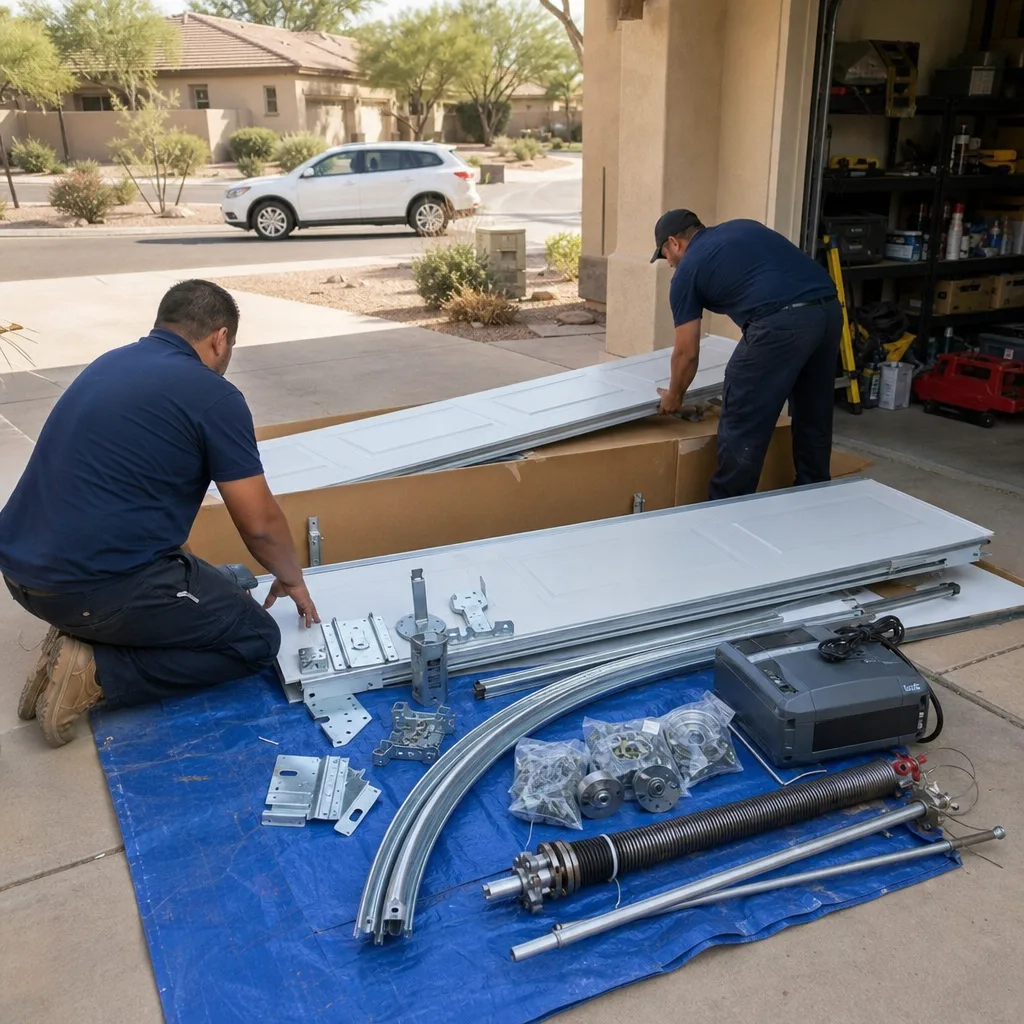
- Using WD-40 as a lubricant. WD-40 is a solvent, not a lubricant. It cleans the surface, then leaves it unprotected. On Tempe garage doors, the result is metal-to-metal grinding within weeks. Use white lithium on hinges and the spring, silicone on rollers and the rail.
- Attempting any work on a door with a broken torsion spring. The door is impossible to lift by hand when the spring is broken, and the release handle will not change that. Every ounce of that door’s weight is now unsupported, and the spring still holds dangerous residual tension. Leave it alone and call someone.
- Skipping the photo-eye check before adjusting anything else. If the door won’t close, the sensors are the most common cause and the cheapest fix. A homeowner who assumes the issue is the opener and starts turning limit screws can create a second problem on top of the first. Check the easy stuff before you touch the hard stuff.
- Buying generic parts for a branded door. Amarr, Wayne Dalton, and Clopay doors each use slightly different track profiles, seal channels, and hinge offsets. A universal part will sometimes work, but a brand-specific part always fits better. The extra ten minutes it takes to identify your door brand saves a second trip.
- Ignoring the heat reset before calling for service. During Tempe summers, an opener that shuts down after one cycle is often thermally overloaded, not broken. The 30-minute unplug reset is free. If a company charges you $85 to tell you to wait 30 minutes, that’s a signal about how they operate.
- Continuing to run an opener that’s making a new sound. A grinding or straining sound is a machine telling you something has changed. Running it until it stops means the repair that would have cost $100 for a minor part is now a $400 opener replacement. Noise is diagnostic; don’t defer it.
- Reusing old winding bars or improvised tools for anything. This is for the homeowners who read the torsion spring section and thought “I’ll be careful.” A winding bar is a specific machined tool designed to seat exactly in the winding cone. A screwdriver or rebar is not a substitute. The difference is whether the bar stays seated or becomes a missile.
When to Call a Professional
Call a professional when the job involves a torsion spring, a cable, or a door that has been hit by a vehicle and is binding after the impact. Call when the opener makes a sound you haven’t heard before and the simple resets don’t clear it. Call when you’re about to list your home for sale and want documentation proving the door was maintained properly. And call when a DIY attempt has made things worse, because that’s a specific category of repair and it’s not rare. Tempe homeowners with doors from Amarr, Wayne Dalton, Craftsman, or Raynor can call Servo at (602) 962-8352 for free estimates, or explore more guides & resources on our blog. We provide a written price before any work begins, every time.
Frequently Asked Questions
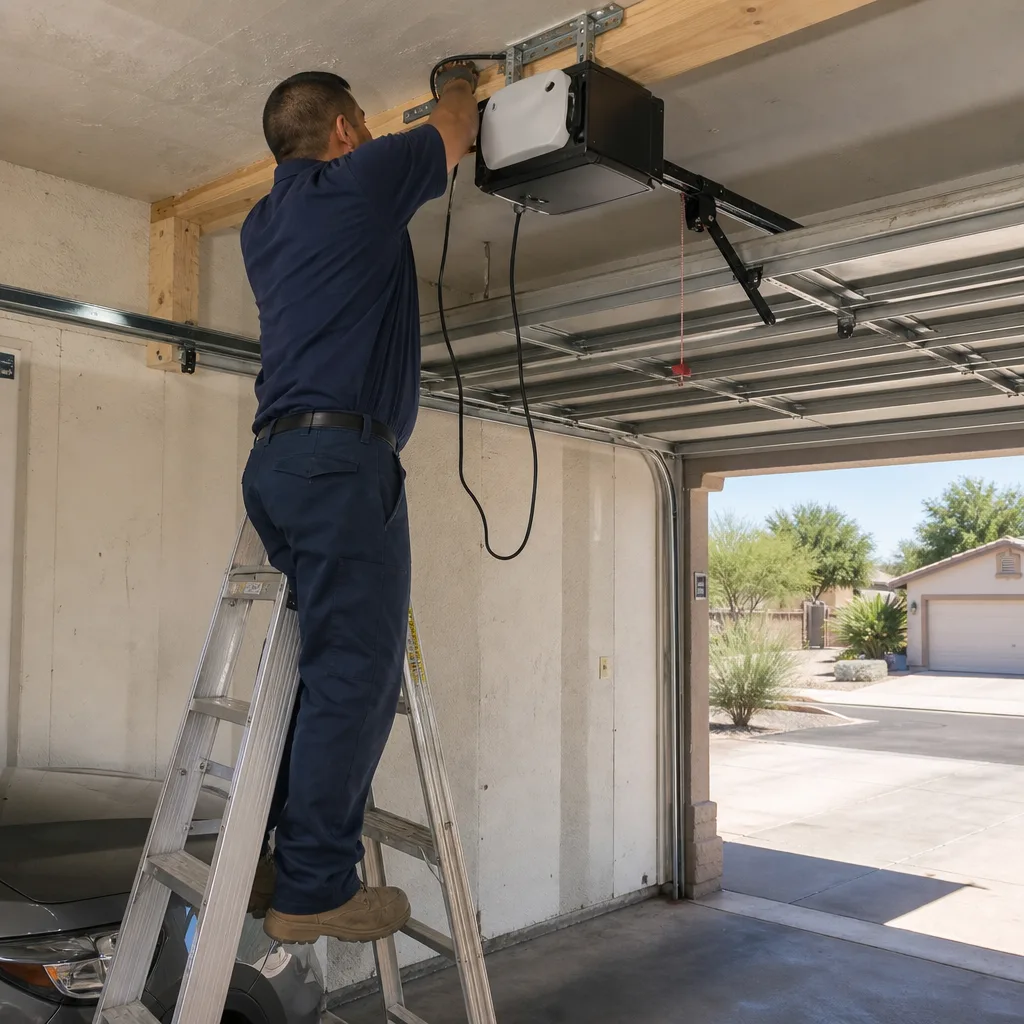
For small maintenance tasks like seal replacement, lubrication, and sensor cleaning, yes, DIY is worth it and saves you $60 to $110 per job. For spring and cable work, no. The risk of serious injury outweighs the $280 to $450 you’d pay a Tempe professional for the repair. The honest answer is task-specific, not a blanket yes or no.
No. Torsion springs hold several hundred pounds of stored rotational energy, and the tools and procedure required to safely release that tension are specialized. A mistake can be fatal. This is not a skill-level question. Call (602) 962-8352 and a technician will replace the spring with a written price before work starts.
Most likely because the motor’s thermal protection circuit tripped. Garage interiors in Tempe can exceed 130 degrees in peak summer, and the opener shuts itself down to prevent motor damage. Unplug the unit for 30 minutes, then test it. If it works normally after cooling, the problem is heat, not equipment failure.
Typical Tempe repair pricing ranges from $85 for minor adjustments to $450 for a torsion spring replacement. Most repairs fall between $150 and $350. Servo provides a flat written price and written scope before any work begins, so the number you approve is the number you pay. Call (602) 962-8352 for an exact quote, free of charge.
Heat-related opener shutdowns during summer, followed by broken torsion springs on doors more than seven years old. The spring metal fatigues faster in high-heat climates, which means Tempe homeowners replace springs more often than homeowners in cooler regions. Both issues are addressable with a single service visit.
Yes. Our Tempe service vehicles carry the common sizes of torsion springs, cables, rollers, seals, hinges, and sensors for all major brands including LiftMaster, Chamberlain, Genie, Clopay, Amarr, Wayne Dalton, Craftsman, and Raynor. For unusual door sizes or custom panels, we order the part and schedule a return visit, with the full pricing agreed in writing before any ordered part is installed.
The Bottom Line
The DIY vs professional decision on a Tempe garage door is not a measure of your handiness. It’s a question of stored energy and documentation. Four tasks, the seal, the sensors, the lube, and the keypad, are safe for a careful homeowner with the right parts and take under an hour each. Two tasks, torsion springs and cables, are never safe for DIY work. When you choose professional work, you’re paying for a written price, a photo record, and a paper trail that holds up in a warranty claim or a home sale. When the job calls for it, Servo Garage Doors Tempe works to a standard that puts all of that in writing before we touch a screw. Call (602) 962-8352 with questions, or to get a free estimate on anything this guide covered and didn’t answer.
Written by Marcus Deller, Owner at Servo Garage Doors Tempe, serving Tempe since 2015.