
Last updated September 20, 2026
Full 25-point door and opener safety check with every visit - springs, cables, rollers, tracks, and your LiftMaster or Chamberlain opener included
You get a price before we start. It does not change when the truck arrives.
 Before
 After
After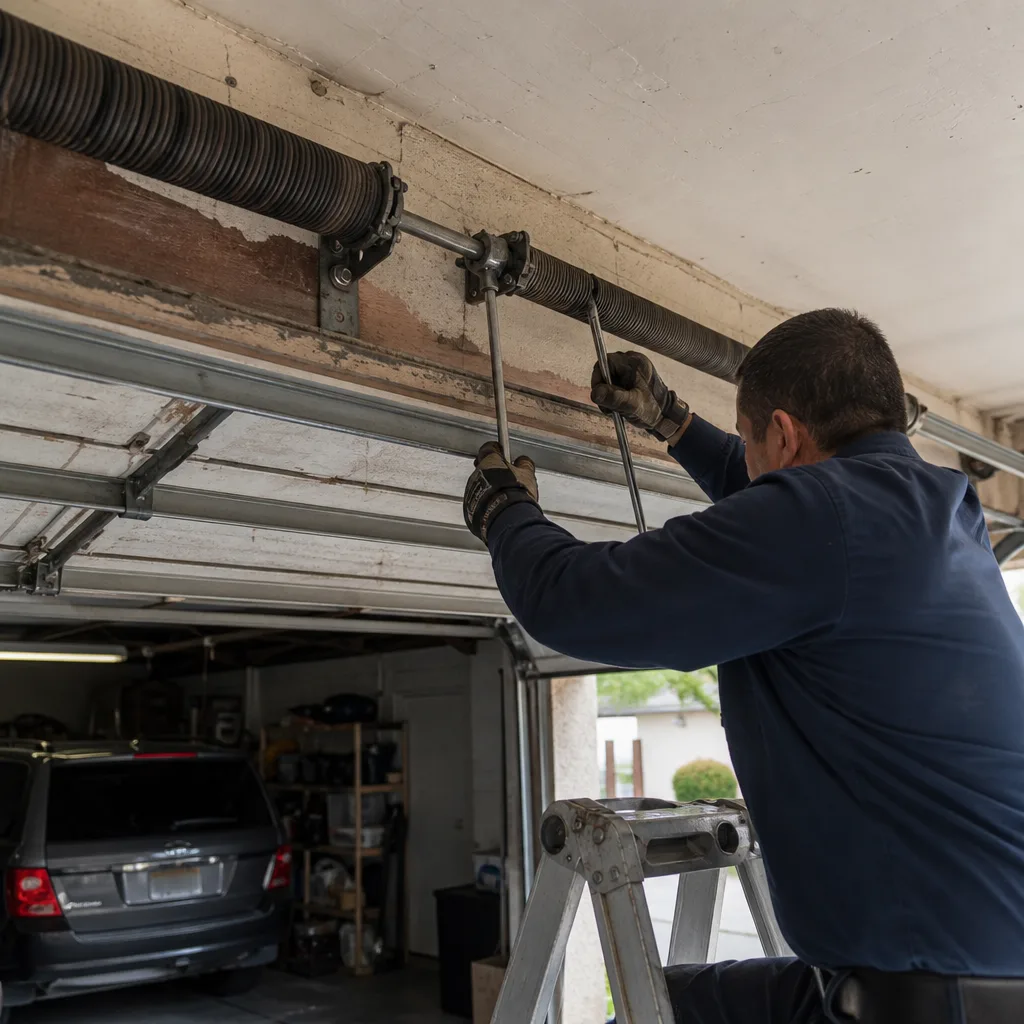 Before
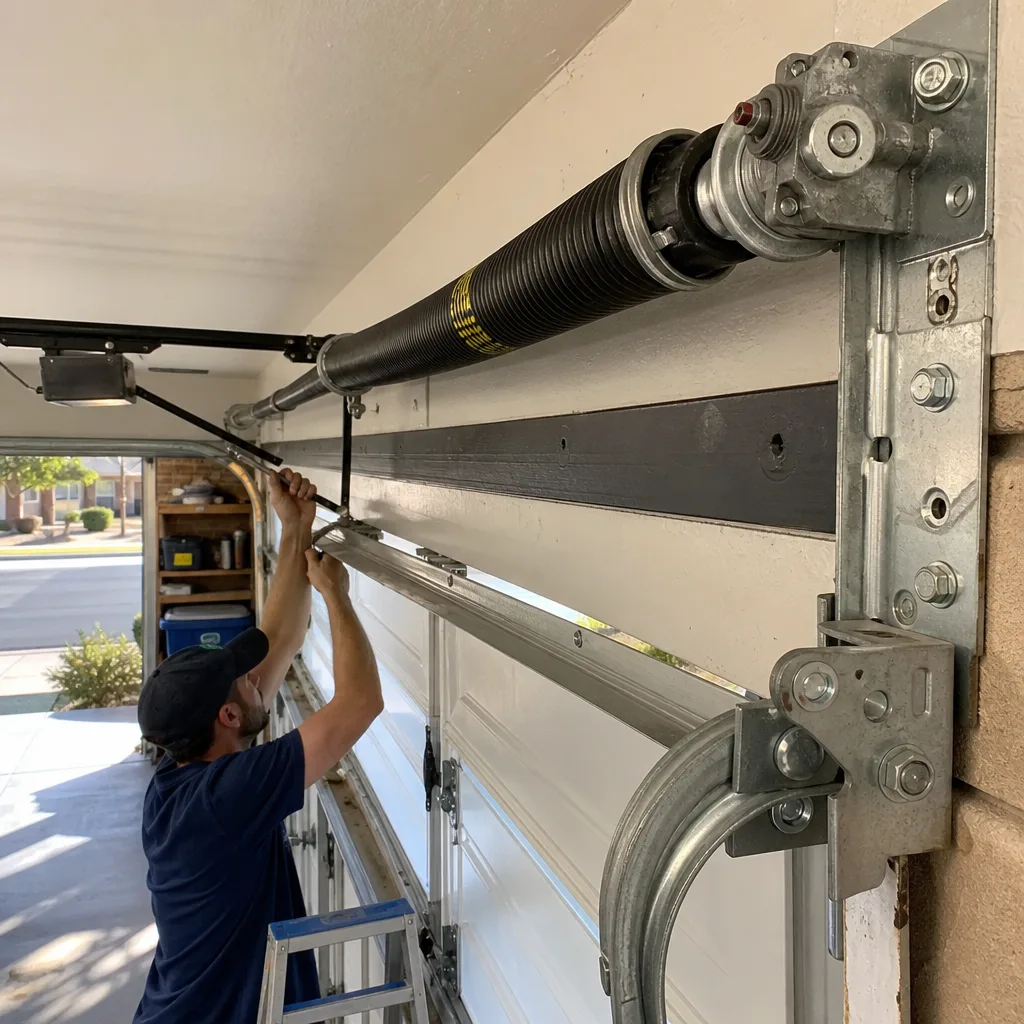 After
After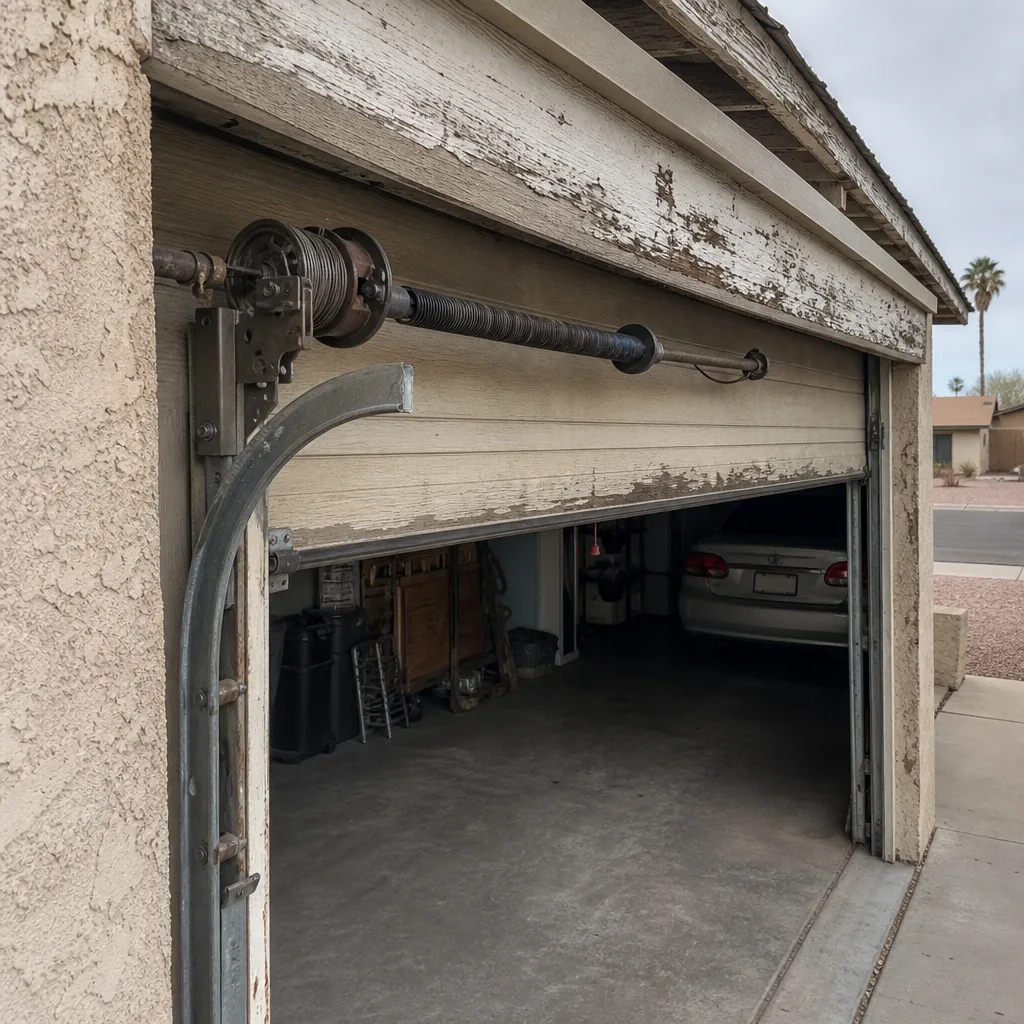 Before
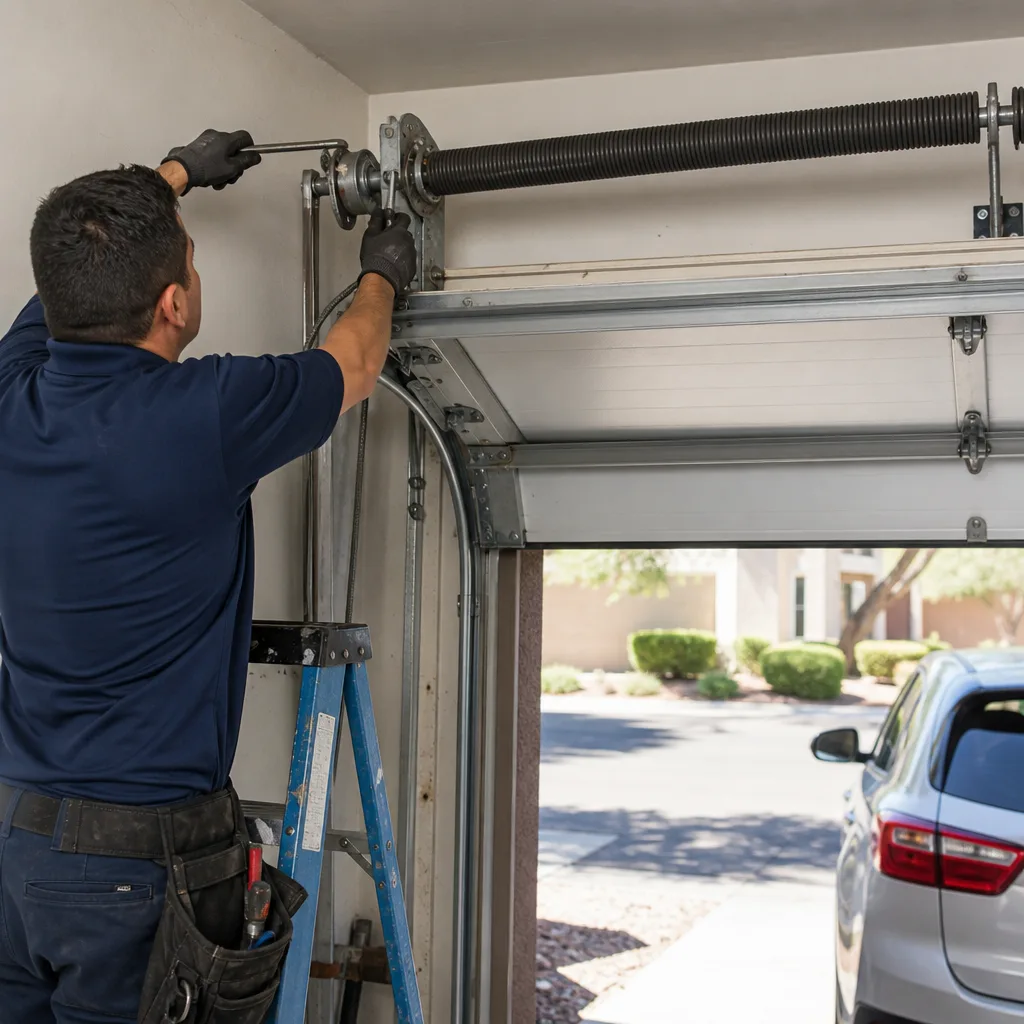 After
AfterGarage Door Repair Maintenance Checklist for Tempe Homeowners
The word “inspect” appears in most garage door maintenance checklists eleven times without once describing what a failed result looks like. That’s not a checklist. That’s a liability disclaimer with bullet points. What a Tempe homeowner actually needs is a set of pass/fail criteria: a way to look at a torsion spring, a cable drum, a set of rollers, and know whether what they’re seeing is normal wear or a part that’s three cycles from failure. This guide gives you that. It covers the components that fail most often in the Tempe climate, what those failures look like before they happen, and exactly what to photograph so you have a record when something goes wrong.
Quick Answer
A garage door maintenance checklist for Tempe homeowners should run through six components every 90 days during summer heat cycles: torsion springs, cable drums, rollers and hinges, tracks, weather seal, and the opener’s force settings. Each item below has explicit pass/fail criteria so you can tell the difference between normal wear and a part that needs replacement. Most checks take under 15 minutes, and the one thing that separates a useful checklist from a useless one is whether you photograph what you find.
Table of Contents
- Torsion Spring Condition: What Failing Actually Looks Like
- Tempe-Specific Lubrication Schedule: Why 90 Days, Not Twice a Year
- Cable Drum Inspection: The Anchor Point Is Where It Fails
- Weather Seal Check Calibrated to Monsoon Season
- Rollers, Hinges, and Track Alignment: The Noise Test
- Opener Force Settings and the 2×4 Test
- Photo Documentation Protocol: What to Shoot and Why
- Common Mistakes to Avoid
- When to Call a Professional
- Frequently Asked Questions
BeforeAfterTorsion Spring Condition: What Failing Actually Looks Like
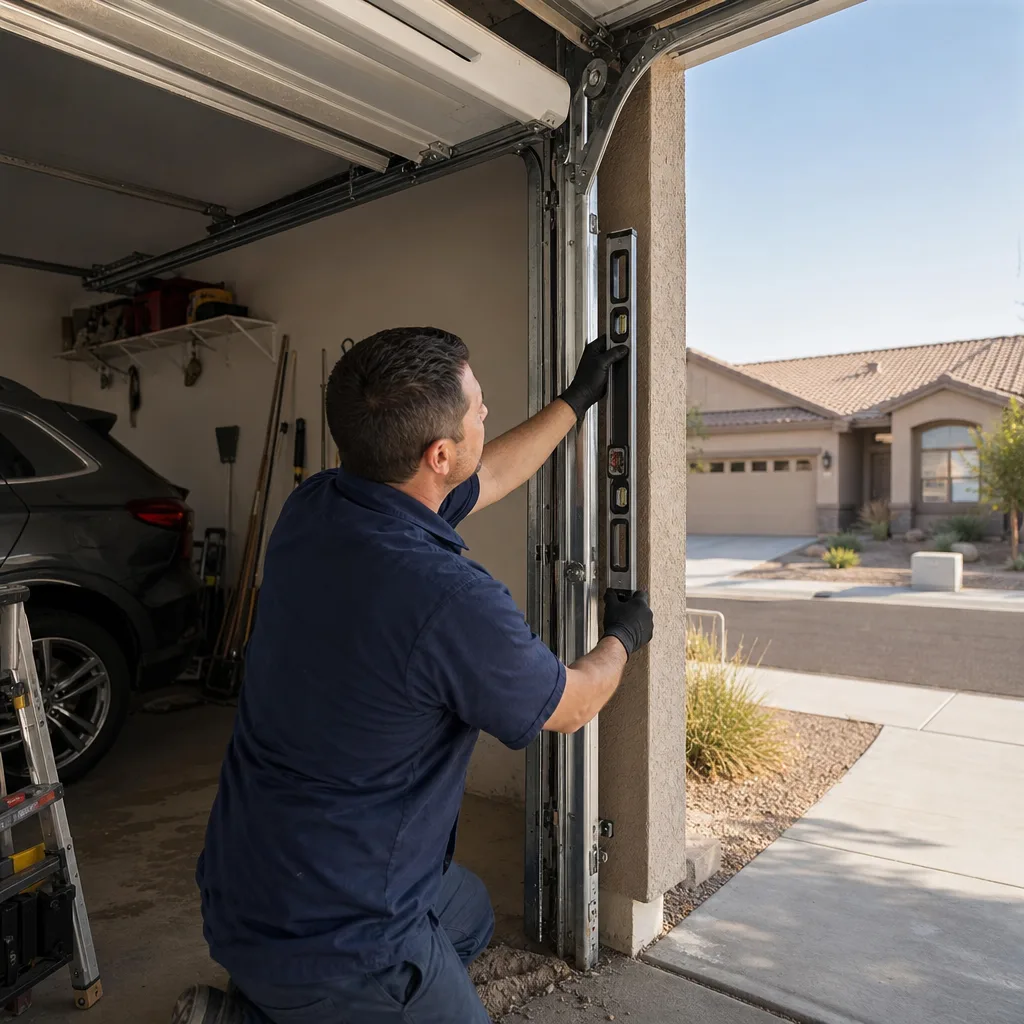
Torsion springs are the most dangerous component on a garage door system. They carry the door’s full weight under tension. When one breaks, it releases that tension in a fraction of a second. Most homeowner checklists say “inspect springs for wear,” which tells you nothing actionable. Here’s what we look for on every spring we evaluate in Tempe, where the dry heat accelerates metal fatigue differently than in humid climates.
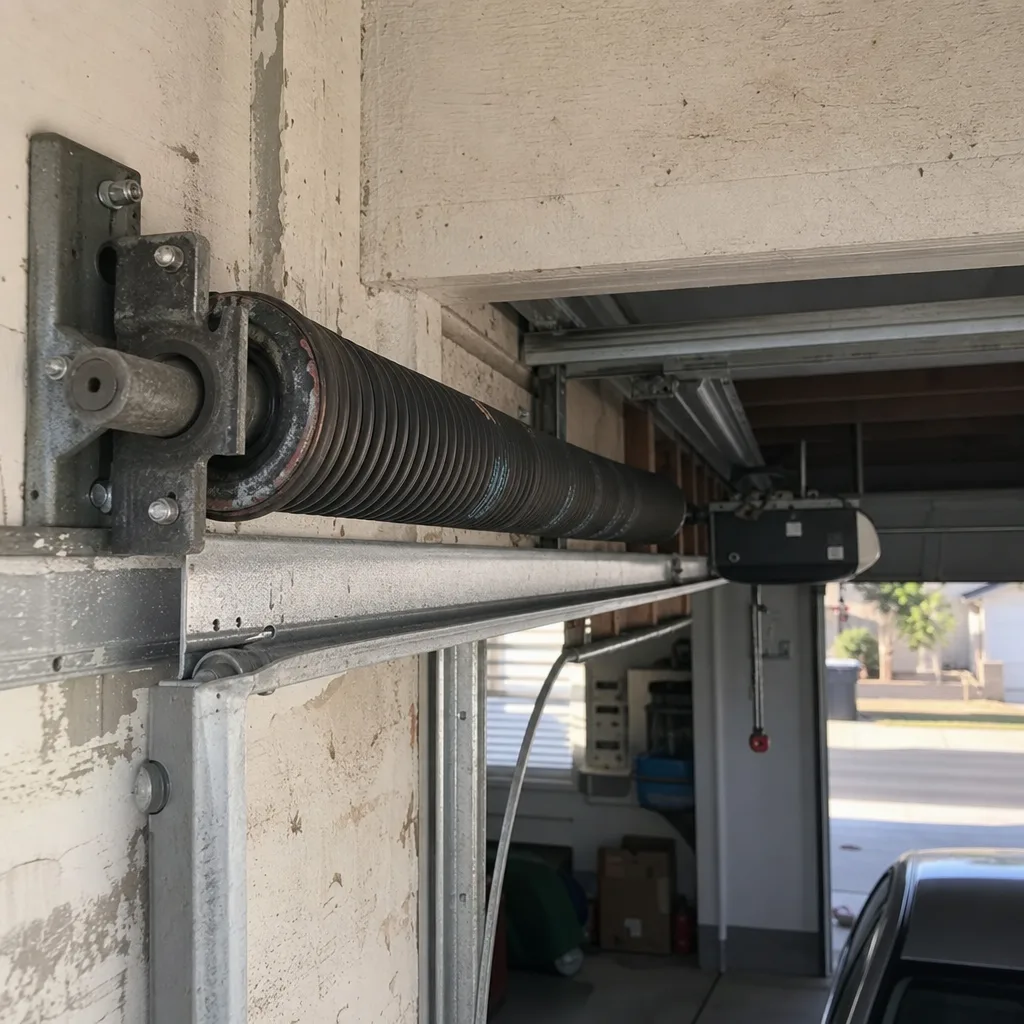
A torsion spring has three failure signals, and each one is visible to the naked eye if you know where to look. The first is a gap in the coil. A healthy torsion spring is wound tightly with no visible space between coils except at the very ends. If you see a gap of even an eighth of an inch between adjacent coils anywhere along the spring, that spring has already failed or is in the process of failing. A gap means the spring has snapped and separated internally even if the pieces are still touching. We see this regularly in neighborhoods like Kiwanis Park and Daley Park where doors are 10 to 15 years old.
The second signal is rust pitting depth. Surface rust is cosmetic and common in Tempe because of the low humidity, but pitting is different. Pitting looks like small craters in the metal rather than a uniform orange film. If the pitting is deep enough that you can catch a fingernail in it, the spring’s wire diameter has effectively been reduced at that point. A spring that started at 0.25-inch wire diameter with significant pitting may have effectively lost 15 to 20 percent of its load capacity. That’s enough to fail under a thermal cycle, and Tempe garage doors cycle through more temperature swings in one August than a Seattle door sees in a year.
The third signal is uneven winding. When a torsion spring is installed correctly, the coils are evenly spaced from end to end. If the coils look bunched together on one side and stretched apart on the other, the spring has been unevenly loaded or has begun to yield. This is especially common on doors where the spring was replaced by someone who didn’t set the winding correctly.
Pass: Coils evenly spaced, no gaps, no pitting deeper than surface rust, spring sits flat and true on the torsion tube.
Fail: Any visible gap between coils, pitting you can catch a fingernail in, uneven coil spacing, or any deformation in the spring’s shape. A failing torsion spring is not a maintenance item. It’s a replacement item, and it should be handled by a trained technician through our Garage Door Repair services. The tension in a wound torsion spring is enough to cause serious injury if released incorrectly. In our experience at Servo, a spring that shows one of these three signals is usually within 60 to 90 days of snapping, and Tempe’s summer heat cycles compress that timeline.
Tempe-Specific Lubrication Schedule: Why 90 Days, Not Twice a Year
The standard advice for garage door lubrication is “twice a year.” That guidance was written for moderate climates. Tempe is not a moderate climate. From May through September, the metal on a garage door expands and contracts through a daily temperature swing that can exceed 30 degrees. That expansion and contraction works lubricant out of the contact points faster than in any coastal city. Metal-on-metal contact points dry out in about 90 days in a Tempe summer.
Here’s the rule we follow for Tempe homeowners: lubricate every 90 days during the heat season, which runs from April through October. That’s three lubrication cycles between April and October instead of the standard one or two. During the cooler months from November through March, the standard twice-a-year schedule is fine.
The joints to prioritize are the ones that carry the most load and move the most. The bearing plates at either end of the torsion tube are the highest-priority lubrication points. These bearings take the full torque load of the door’s weight. When they run dry, they start to grind, and a grinding bearing plate transfers vibration into the torsion spring, which accelerates spring fatigue.
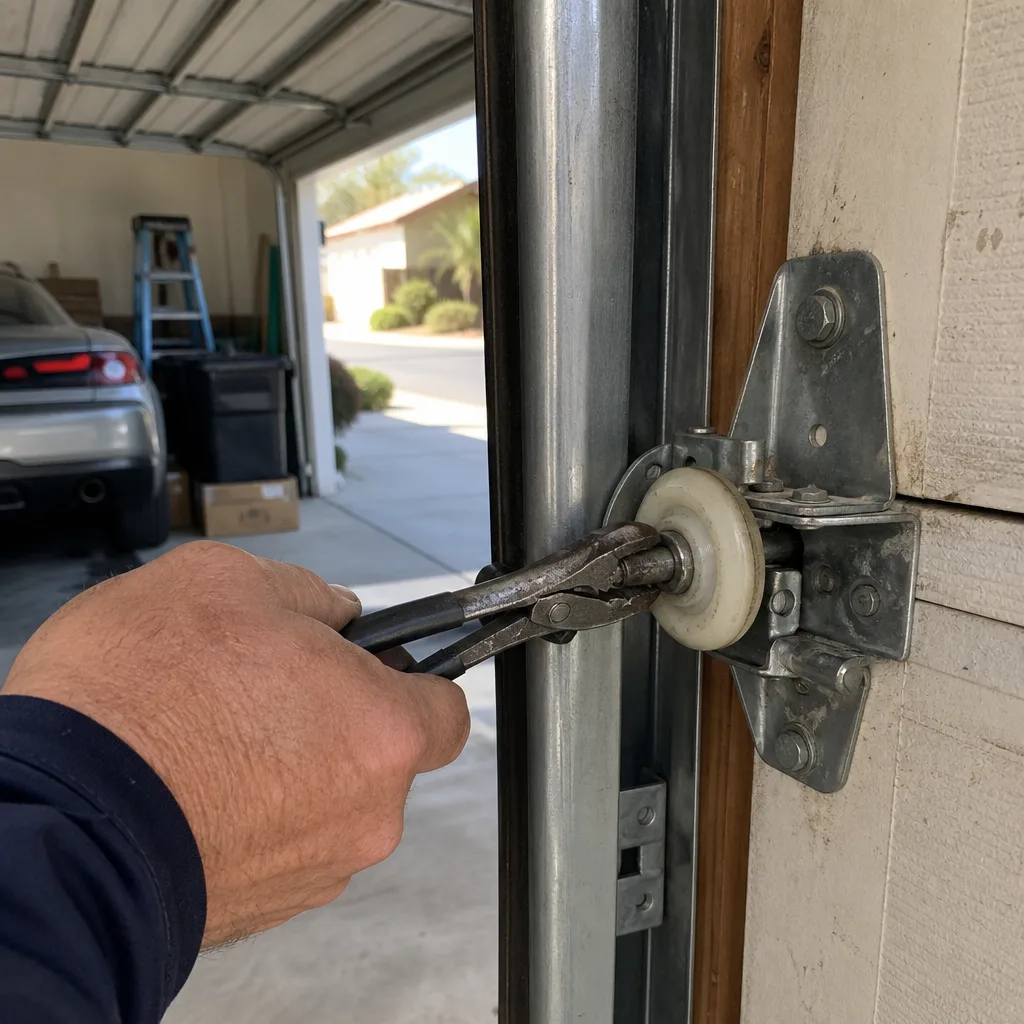
Next are the roller stems. Each roller has a stem that inserts into a hinge. Lubricate where the stem meets the hinge, not the roller wheel itself. The roller wheel runs on the track, and lubricating the wheel causes it to pick up dust and grit. In Tempe, where the air carries fine desert dust even on calm days, a greased roller wheel becomes a grinding wheel within a week.
The hinge pivot points are third. Each hinge on a sectional door has three pivot points where the hinge plates fold. These are simple metal pins through metal plates. They need a light coat of lubricant every 90 days in the heat season.
The lubricant matters: use a lithium-based garage door lubricant or a silicone spray designed for garage doors. WD-40 is a solvent, not a lubricant. It will clean the joint and then evaporate, leaving it drier than before. Heavy grease is also wrong. It traps dust. The goal is a thin film that stays on the metal without becoming a dust magnet.
The 90-day Tempe lubrication protocol:
- Disengage the opener and close the door manually. Always disconnect power to the opener before any maintenance.
- Apply one short spray to each bearing plate at both ends of the torsion tube. One second of spray is enough. More is not better.
- Apply one short spray to each roller stem where it meets the hinge. Do not spray the roller wheel.
- Apply one short spray to each hinge pivot point. There are three points per hinge.
- Cycle the door open and closed twice by hand to work the lubricant into the joints.
- Reconnect the opener and run it through one full cycle. Listen for grinding or squealing. A properly lubricated door runs at about 60 to 65 decibels, which sounds like a quiet conversation.
If you want to see what a properly maintained door sounds like, any of the garage door repair in Tempe work we document includes a before-and-after audio note on the photo record. It’s useful to have a baseline.
Cable Drum Inspection: The Anchor Point Is Where It Fails
Cable drums sit at each end of the torsion tube, above the door. The lift cables wind around these drums. Most of the time, when a cable fails, it doesn’t fail in the middle of its length. It fails at the anchor point: the loop at the bottom of the cable that attaches to the bracket at the bottom corner of the door. That’s the highest-stress location on the entire cable assembly because it carries the door’s full weight every time the door moves.
To inspect a cable drum and cable, start with the door closed. Look at the cable where it leaves the drum and runs down to the bottom bracket. On a healthy installation, the cable wraps evenly around the drum with no overlapping wraps and no gaps between adjacent wraps. The cable itself should be a uniform gray or silver with no broken strands visible.
The critical inspection point is the bottom five inches of cable where it forms the anchor loop. This is where fraying starts. Fraying looks like individual wire strands separating from the main cable body. A lift cable on a standard residential door is typically 1/8 inch in diameter and made up of seven strands of 19 wires each. When you can see individual wires separated from the bundle at the anchor loop, that cable has begun to fail.
The strand count threshold matters. If more than three individual wires are broken or separated at the anchor point, the cable’s effective strength is compromised. A single broken wire out of 133 is cosmetic. Three separated wires at the anchor loop means the cable is approaching the point where a sudden snap is possible.
Pass: Cable wraps evenly on the drum, no overlapping wraps, no broken wires visible anywhere on the cable, the anchor loop is tight against the bottom bracket with no separated strands.
Fail: Any separated wire strands at the anchor loop, any overlapping wraps on the drum, any visible kink in the cable, or a cable that appears slack when the door is closed. A slack cable often means the spring has lost tension and the cable is no longer carrying its share of the load, which puts abnormal stress on the other cable. If one cable fails, the door comes down unevenly. The result is often a bent track, a shattered roller, or damage to the door sections.
Cables and springs are the two components we never recommend a homeowner replace themselves. The tension involved is not intuitive. A cable that looks slack can carry the door’s full weight the moment the spring releases. If you see a frayed cable at the anchor point in your Tempe garage, call a Servo Garage Doors Tempe home technician. We photograph the failed component before quoting anything, per Clause 4 of The Haven Standard, so you see exactly what we saw.
Weather Seal Check Calibrated to Monsoon Season
Tempe gets an average of nine inches of rain a year, and most of it falls between June and September during monsoon season. The rest of the year, the dominant threat to your garage is dust. The fine desert dust that blows through Tempe during dry periods finds its way through gaps smaller than you’d expect. A weather seal that looks “fine” can be failing in ways that matter for your garage’s interior.
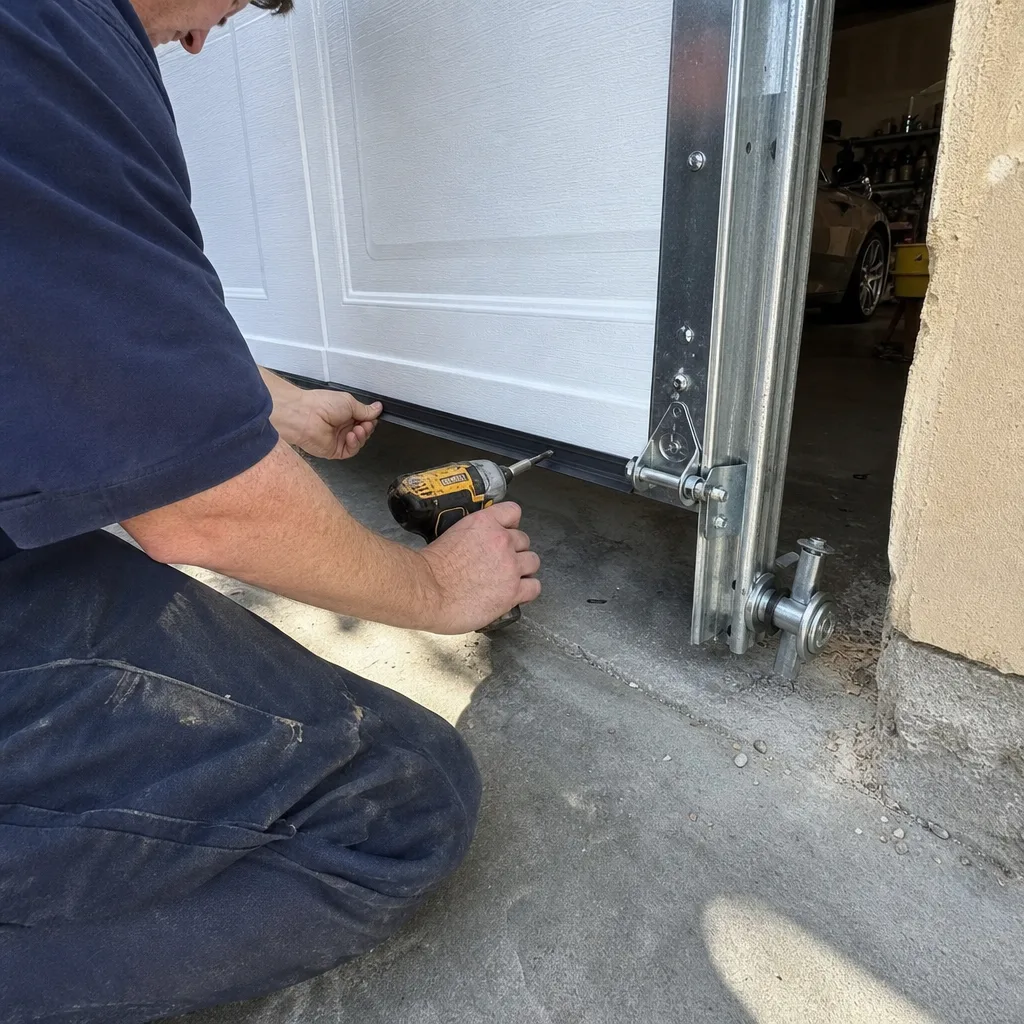
The bottom weather seal on a garage door is a rubber or vinyl extrusion that runs along the bottom edge of the door. It compresses against the concrete floor when the door closes. The seal has a specific gap tolerance: anything wider than a quarter inch between the bottom of the seal and the garage floor at any point along the door’s width is a functional failure.
Here’s the dust intrusion test. On a dry day, close the garage door and turn off the garage lights. Stand inside the garage and look at the bottom edge of the door. If you can see daylight, the seal has failed. If you can’t see daylight, run your hand along the bottom edge. If you feel air movement, the seal is compromised. In Tempe, a seal that passes the daylight test but fails the air movement test will still let dust through, and that dust gets into everything: stored items, the garage door tracks, the opener’s logic board housing.
The monsoon test is different. During the rainy season, the ground around a garage door in Tempe can saturate quickly. The soil in most of Tempe is caliche, a hard-packed calcium carbonate layer that doesn’t absorb water well. When a monsoon storm drops an inch of rain in an hour, the water pools and runs toward the lowest point, which is often the garage apron. A bottom seal with a quarter-inch gap will let water through, and standing water inside a Tempe garage in July doesn’t evaporate quickly because of the monsoon humidity.
The side weather seals on a sectional door are vertical strips that run along the door jambs. They serve a different function than the bottom seal. They keep wind-driven dust and rain from entering around the sides of the door. The pass/fail standard for side seals in Tempe is simple: the seal should make continuous contact with the door along its full height when the door is closed. If the seal is curled away from the door, cracked, or has separated from the jamb at any point, it fails.
Pass: No visible daylight at any point under the closed door, no air movement felt along the bottom edge, side seals make continuous contact with the door, no cracks or curling in the rubber.
Fail: Any visible daylight, any air movement, any gap wider than a quarter inch at any point along the bottom, side seals that have pulled away from the jamb, or rubber that cracks when pressed with a fingernail. Tempe’s UV exposure is brutal on rubber and vinyl. A weather seal that’s five years old in Tempe has received the UV equivalent of ten years in most other markets. The rubber loses its plasticizers and becomes brittle, and brittle rubber doesn’t compress to form a seal.
Rollers, Hinges, and Track Alignment: The Noise Test
Rollers are the wheels that carry the door along the tracks. They come in three materials: steel, nylon, and nylon-coated steel. In Tempe, the dry climate is gentler on rollers than a humid climate would be, but the dust load is harder on them. Fine grit works its way into the roller bearings and accelerates wear.
A healthy roller spins freely. When the door moves, the roller should roll. When a roller starts to slide instead of roll, it’s failing. Sliding creates flat spots on the roller wheel. Once a roller has a flat spot, it thumps every time that flat spot passes along the track, and the thump transfers vibration through the door and into the track brackets.
The noise test for rollers: open and close the door manually with the opener disengaged. A healthy door is quiet. You should hear the soft rumble of wheels on steel track and not much else. If you hear clicking, the roller bearings are dry or failing. If you hear grinding, a roller has stopped rolling and is sliding. If you hear thumping, a roller has a flat spot. Any of these is a fail.
Hinges have a similar pass/fail standard. A healthy hinge opens and closes smoothly with no play between its plates. To check a hinge, put a finger on the hinge pin while the door moves. If you feel vibration or see movement between the plates, the hinge has developed play. A hinge with play allows the door section to shift, and a shifting section changes the door’s balance.
Track alignment in Tempe is affected by heat. The steel tracks expand in the summer heat. In a properly installed track system, the expansion is accounted for in the installation. The track brackets allow for thermal movement. But if a track was installed too tightly or has been hit by a vehicle, the expansion compound the problem. A track that’s out of alignment will show wear on the inner face of the track where the roller wheels ride. Look for shiny spots or scored metal.
Pass: Rollers spin freely, no flat spots visible, no clicking, grinding, or thumping during door operation, hinges move smoothly with no play, tracks show even wear with no scoring.
Fail: Any roller that doesn’t spin when the door moves, any flat spot on a roller wheel, any hinge with visible play, any track showing scored metal or uneven wear patterns. Failed rollers and hinges are load-bearing failures. They put additional stress on the springs and cables, and the failure accelerates from there.
Opener Force Settings and the 2×4 Test
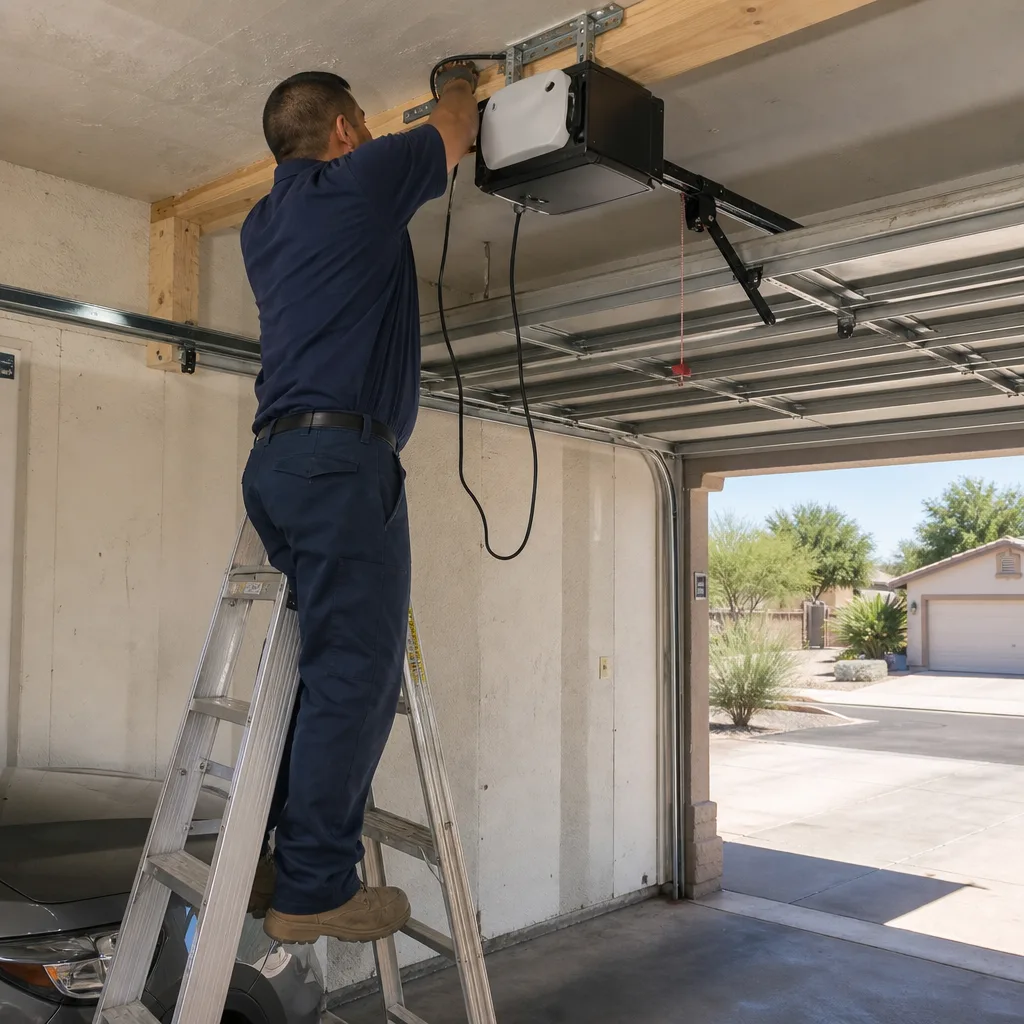
The opener is the motor that moves the door. It has two force settings: open force and close force. The close force setting is the one that matters for safety. If the close force is set too high, the opener will push the door down even when the door meets resistance. That resistance might be a child, a pet, or a bicycle. The 2×4 test is the standard way to check close force.
Here’s how it works. Place a 2×4 flat on the floor directly under the path of the closing door. Close the door with the opener. The door should contact the 2×4 and reverse direction within two seconds. If the door stops and reverses, the close force is set correctly. If the door crushes the 2×4 or continues pushing down against it, the close force is set too high and the opener is unsafe.
The reverse mechanism works through the opener’s logic board. In Tempe, logic boards are exposed to more dust than in most markets because the opener housing is mounted on the garage ceiling where warm dusty air rises. A logic board caked in dust can fail intermittently, and an intermittent logic board is a safety issue because the reverse mechanism may not engage when it should.
To check the logic board, unplug the opener and remove the housing cover. Look at the board. A healthy logic board is clean. A board covered in a layer of dust needs to be blown clean with compressed air. Do not use a vacuum. Vacuums create static electricity that can damage board components. If you’re not comfortable opening the opener housing, this is a good item to delegate to a garage door opener repair and installation in Tempe technician.
Pass: The 2×4 test reverses the door within two seconds, the opener runs smoothly without grinding, the logic board is clean, the safety photo eyes are aligned and unobstructed.
Fail: The door does not reverse on the 2×4 test, the opener makes grinding sounds, the logic board is dusty, or the photo eye sensors fail to reverse the door when an obstruction passes between them. A failed 2×4 test is a call-today item. An opener that doesn’t reverse can cause serious injury, and it’s not something to defer.
Photo Documentation Protocol: What to Shoot and Why
The single most useful habit a Tempe homeowner can develop is photographing their garage door components at every maintenance check, and for more guides & resources on keeping your door in top shape, explore our blog. Here’s why: when a garage door fails and a repair company comes out, the conversation about what caused the failure is often a he-said-she-said between the homeowner and the technician. If the technician says the spring was already fatigued before they arrived, and you have a dated photo from 60 days ago showing a gap in the coil, the conversation is over.
This is the same principle behind Clause 4 of The Haven Standard, which requires a Servo technician to photograph the failed component before quoting a replacement. You receive evidence of what was found. The same evidence works in reverse: if you have a dated photo file of your own, you have evidence of what your door looked like before a technician touched it.
What to photograph at each 90-day maintenance check:
- The torsion spring, straight on from a ladder or step stool. This photo should capture the full length of the spring. If the spring fails later, this photo establishes whether the failure was a pre-existing condition or sudden damage.
- The cable anchor point at the bottom bracket, close up. This is where fraying starts. A photo taken from six inches away will show individual wire strands that you might miss with the naked eye.
- The roller stems and hinges, one photo per side. This documents the condition of every moving part on the door.
- The bottom weather seal from inside the garage with the door closed. This establishes the daylight test result.
- The opener housing with the cover removed. This documents the logic board’s dust condition.
- The date. Every photo file on a modern phone has a timestamp. Use it. A photo without a date is much weaker evidence than a dated one.
Store these photos in a folder called “Garage Door” on your phone or cloud drive. The folder should accumulate photos over time. Six months of photos showing a spring that was healthy and then developed a gap between the May and August checks is a maintenance record, not just a photo collection.
When a contractor damages a door during a visit or claims a pre-existing condition, a dated photo file changes the dynamic. You’re no longer arguing from memory. You’re showing evidence. This is the same standard we hold ourselves to: every Servo visit ends with a documented photo record delivered to the homeowner. You should keep one too.
Common Mistakes to Avoid
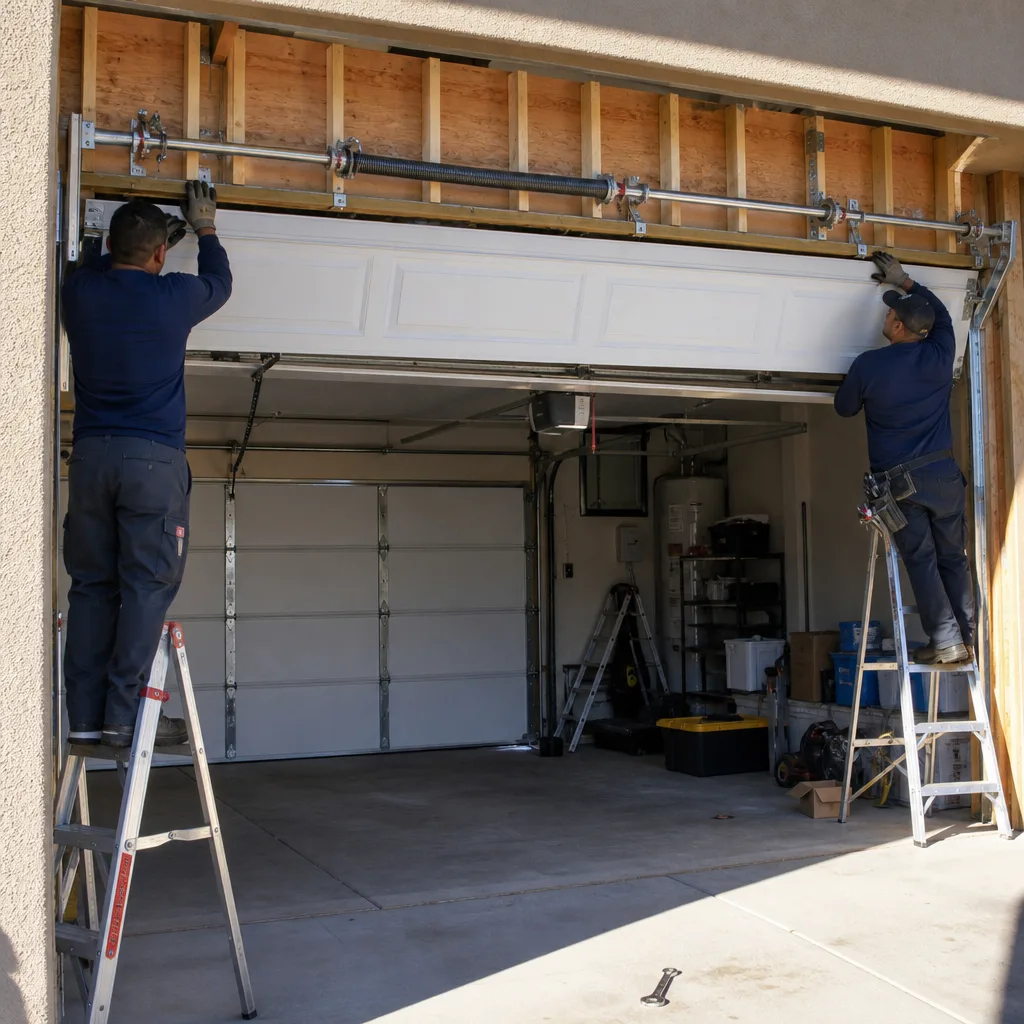
- Lubricating the roller wheels. The wheels run on the track. Lubricant on the wheel surface picks up Tempe’s fine dust and turns into an abrasive paste. Lubricate the stems, never the wheels.
- Using WD-40 as a garage door lubricant. WD-40 is a solvent. It cleans metal and then dries. It leaves the joint drier than it found it. Use a lithium or silicone garage door lubricant.
- Skipping the 2×4 test because the door “seems fine.” The close force setting drifts over time. An opener that doesn’t reverse on the 2×4 test is a safety hazard even if the door opens and closes normally every day.
- Treating a gap in a torsion spring coil as a minor issue. A gap means the spring has already failed structurally. It’s not going to heal. It’s a replacement item, and the timeline is shorter in Tempe’s heat.
- Ignoring side weather seals because the bottom seal looks fine. Side seals don’t protect against floor-level water. They protect against wind-driven dust and rain. In a Tempe monsoon, wind-driven rain hits the door at an angle the bottom seal can’t cover.
- Doing maintenance on a door with the opener connected. Always disengage the opener and unplug it before doing any inspection that puts your hands near the springs, cables, or tracks. The accidental activation risk is real.
- Keeping maintenance records only in memory. Without photos, “I checked it in May and it was fine” carries no weight. A dated photo file is the only maintenance record that survives a dispute.
When to Call a Professional
Some items on this checklist are safe to evaluate and address yourself: lubrication, weather seal inspection, the 2×4 test, and photo documentation. Others are not. If you find a gap in a torsion spring coil, fraying at a cable anchor point, a roller that has stopped rolling, or a track that has pulled away from its bracket, stop and call a professional. The components that fail dangerously are the ones under tension, and the release of that tension is not something to experiment with.
Servo Garage Doors Tempe offers free estimates in Tempe. Call (602) 962-8352. Every estimate includes a flat, written price and written scope before any work starts, per Clause 1 of The Haven Standard, so you’ll know the cost before you approve anything.
Frequently Asked Questions
Every 90 days during the heat season, which runs from April through October in Tempe. The standard twice-a-year guidance doesn’t account for the daily thermal expansion and contraction of metal parts in the desert heat. During the cooler months, lubricating every four to six months is sufficient. Call (602) 962-8352 if you want a lubrication walkthrough from a technician who works on Tempe doors daily.
A failing torsion spring shows one of three visible signals: a gap between adjacent coils anywhere along the spring’s length, rust pitting deep enough to catch a fingernail, or uneven coil spacing. Any of these means replacement is due. If you see a gap in the coil, the spring has already failed structurally even if the door still opens.
No. Lift cables carry the door’s full weight and remain under tension even when the door is closed. Replacing one requires releasing the tension in the torsion spring safely, and that’s a job for a trained technician with the right winding bars and experience. A cable that frays at the anchor point should be replaced before it snaps, but the replacement itself needs professional handling.
A thumping noise usually means a roller has developed a flat spot. The flat spot contacts the track on every rotation and transfers vibration through the door. The fix is replacing the affected roller, and if one roller has failed, the others are often close behind. That’s a repair worth doing before the vibration damages the hinges and track brackets.
Close the door and look for daylight under it. Any visible light means the seal has failed. If no daylight is visible, run your hand along the bottom edge. Air movement indicates a compromised seal. In Tempe, the dry dust and monsoon rain make a functional seal more important than in most markets. Side seals should make continuous contact with the door. Cracking or curling rubber is a fail.
No. Servo Garage Doors quotes a flat, written price and written scope before any work starts, and that’s Clause 1 of The Haven Standard. The price does not change once the technician evaluates the door. The whole point of the written-price-first system is that the number you approve is the number you pay. Call (602) 962-8352 for a free estimate.
The Bottom Line
A maintenance checklist only works if it tells you what a failed component looks like. The six items in this guide cover the components that fail most often in Tempe’s climate, and each one has explicit pass/fail criteria. Run through the checklist every 90 days during the heat season. Lubricate the bearing plates, roller stems, and hinge points. Photograph everything. If you find a failing spring, cable, roller, or track, stop and call a professional. The tension in these components isn’t intuitive, and the consequences of getting it wrong are serious.
Written by Marcus Deller, Owner at Servo Garage Doors Tempe, serving Tempe since 2015.