
Last updated September 20, 2026
Full 25-point door and opener safety check with every visit - springs, cables, rollers, tracks, and your LiftMaster or Chamberlain opener included
You get a price before we start. It does not change when the truck arrives.
 Before
 After
After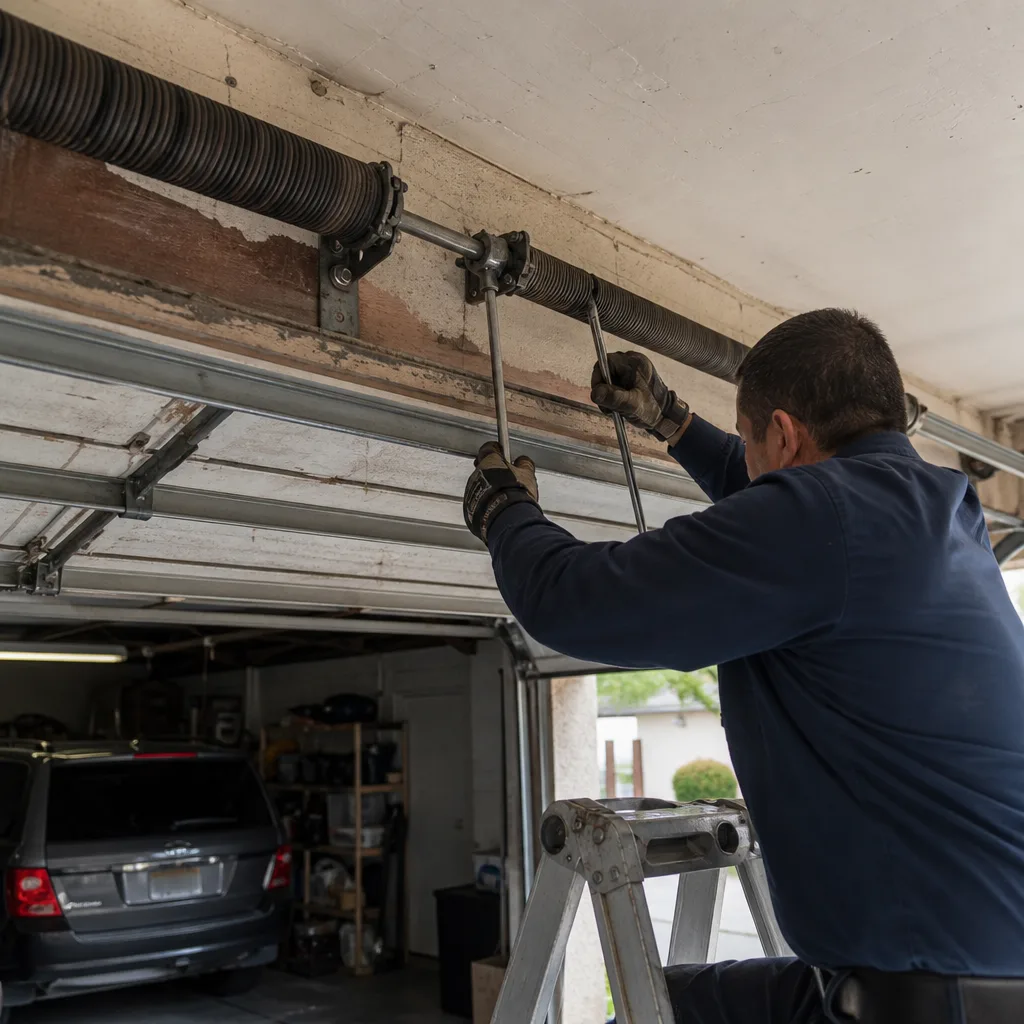 Before
 After
After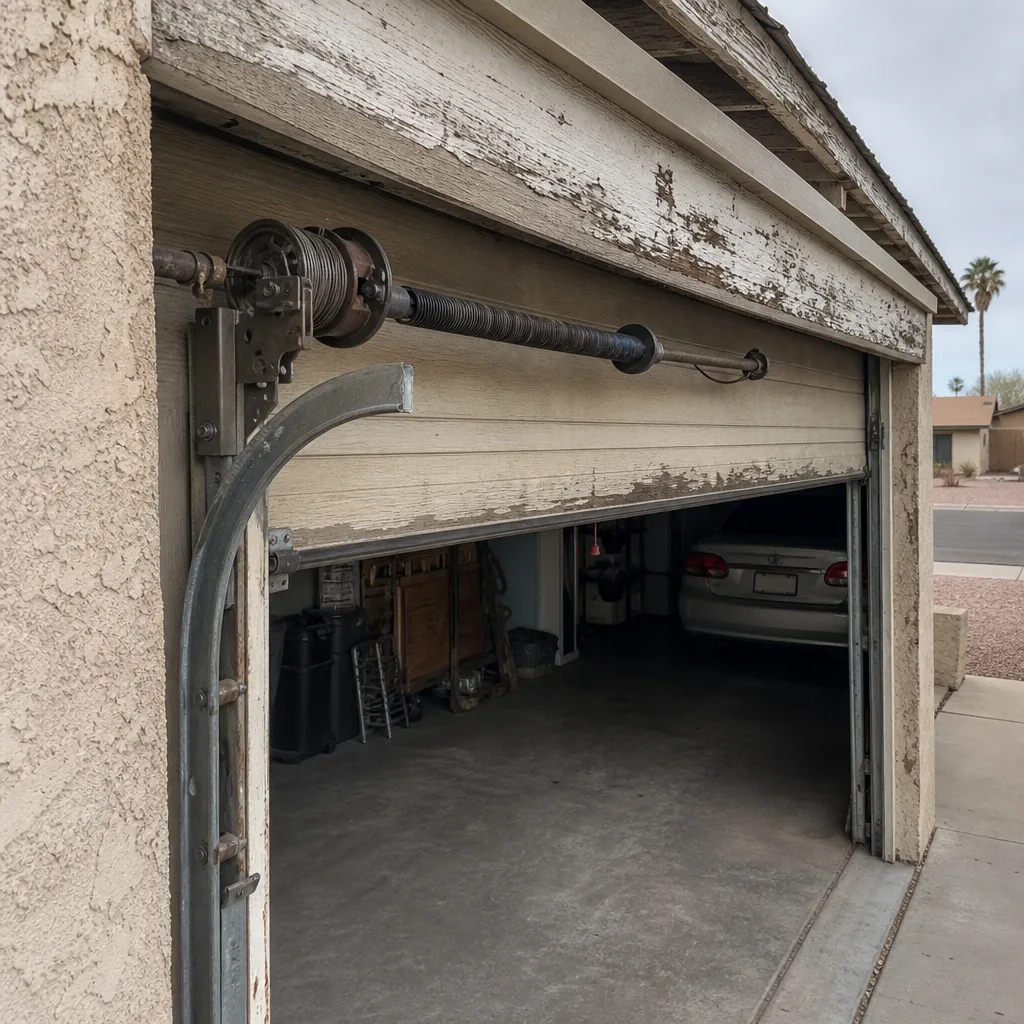 Before
 After
AfterGarage Door Warning Signs: A Tempe Homeowner’s Reference Guide
Most garage door advice is written by people who have never spent a July afternoon standing in a Tempe garage while a homeowner gestures at a door and says “it sounds weird.” That phrase, for a technician, means starting from zero. This guide exists to fix that. You’ll learn to name the sound, locate it, and attach it to a likely component, and you’ll learn which symptoms are cosmetic and which ones are telling you to stop using the door today. By the time you finish, you’ll be able to hand a technician something more useful than a shrug.
Quick Answer
A garage door in Tempe is warning you when it makes a sound that is new, located in a specific spot, and tied to an operating condition like opening, closing, or a particular travel point. Grinding near the cable drums, scraping from the rollers, a spring that twangs during the first foot of opening, and a door that drifts when stopped at mid-height are four of the most common failure signatures. Any of them warrants a call to a technician at (602) 962-8352, and two of them mean you should stop using the door immediately. For a full walkthrough on finding the right pro, see How to Hire a Garage Door Contractor in Tempe: A Step-by-Step Guide.
Table of Contents
- The Noise Taxonomy: What Each Sound Actually Means
- The Photo-Eye Misalignment Test: Sensor Problem or Wiring Fault?
- Asymmetric Movement: When One Side Lags the Other
- Tempe-Specific Weathering: The Dust Stage vs. The Crack Stage
- The Balance Test: How to Check Spring System Health Without Tools
- Garage Door Opener Warning Signs: Logic Board, Gears, Travel Limits
- Common Mistakes to Avoid
- When to Call a Professional
- Frequently Asked Questions
- The Bottom Line
BeforeAfterThe Noise Taxonomy: What Each Sound Actually Means
Garage doors talk. They talk through the drums, the rollers, the springs, the opener rail, and the hinges. The problem is that generic advice says “unusual noise” as if that narrows anything down. It doesn’t. Here is what each signature sound points to.
Cable Drum Grinding
Grinding that comes from the cable drum, the grooved wheel at the top of either side of the door where the lift cable wraps, sounds like metal on metal with a low, rhythmic character. It usually appears during the last six to twelve inches of closing, when the drum’s load changes. What you’re hearing is often a bushing that has gone dry or a cable that has started to walk out of its groove. In Tempe garages, the heat accelerates grease breakdown in these bushings. We’ve seen doors in the Clark Park and Roosevelt neighborhoods where a drum that has never been lubricated grinds audibly by year five. The fix is usually bearing lubrication or cable repositioning, but if the cable has frayed, the drum assembly may need replacement. This is not a symptom to ignore, because a cable that comes fully off the drum drops the door against its safety system, and that’s a failure chain you do not want.
Roller-in-Track Scraping
Scraping that moves with the door and sounds like metal dragging on metal comes from the rollers moving inside the vertical and horizontal tracks. This is distinct from drum grinding: roller scraping has a higher pitch and follows the roller, not the drum. It means the roller has worn play into its bearing, the track has shifted slightly out of parallel, or the door is operating out of level. Tempe’s dust and monsoon-season grit build up inside the track and turn a marginal roller into a grinder. If you hear this, it is safe to keep using the door for a short time while you arrange a repair, but the longer it runs, the more the track wears. Roller replacement is inexpensive. Track replacement is not.
Torsion Spring Twang
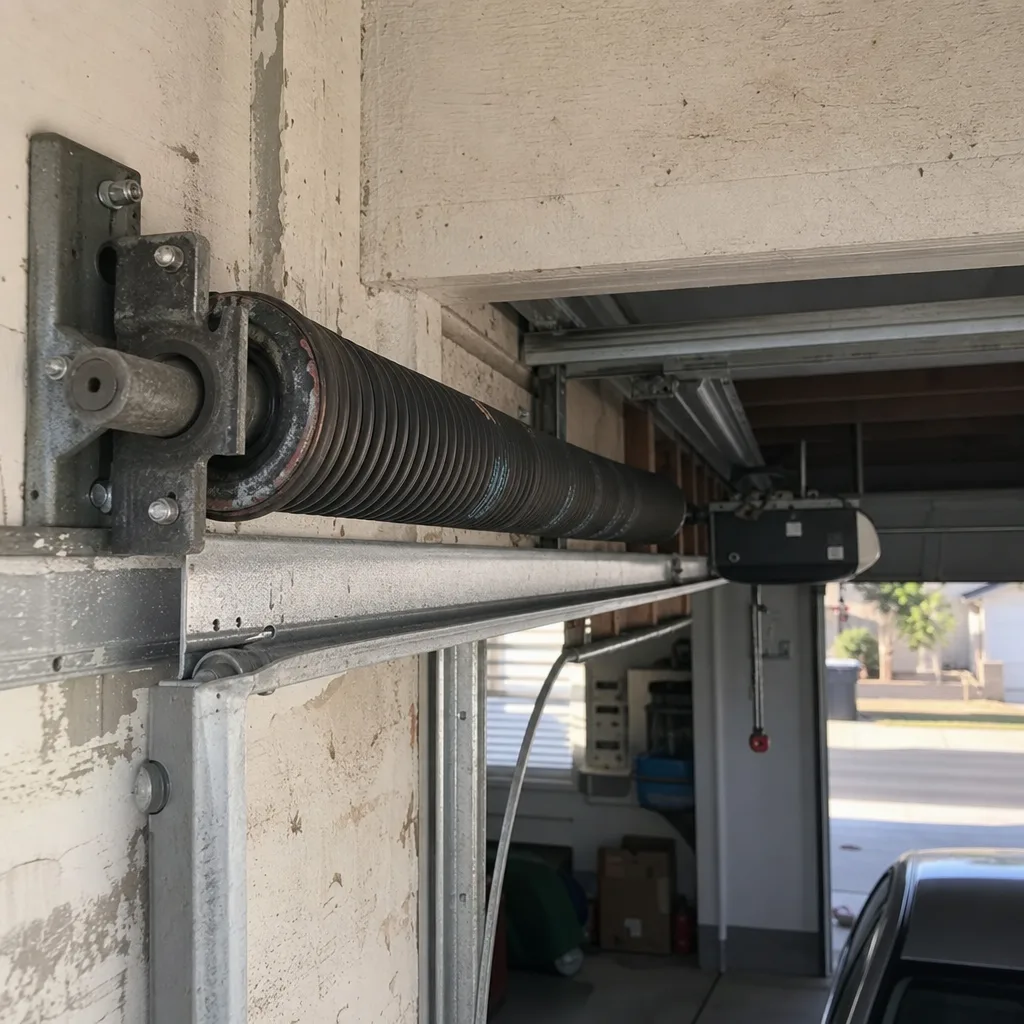
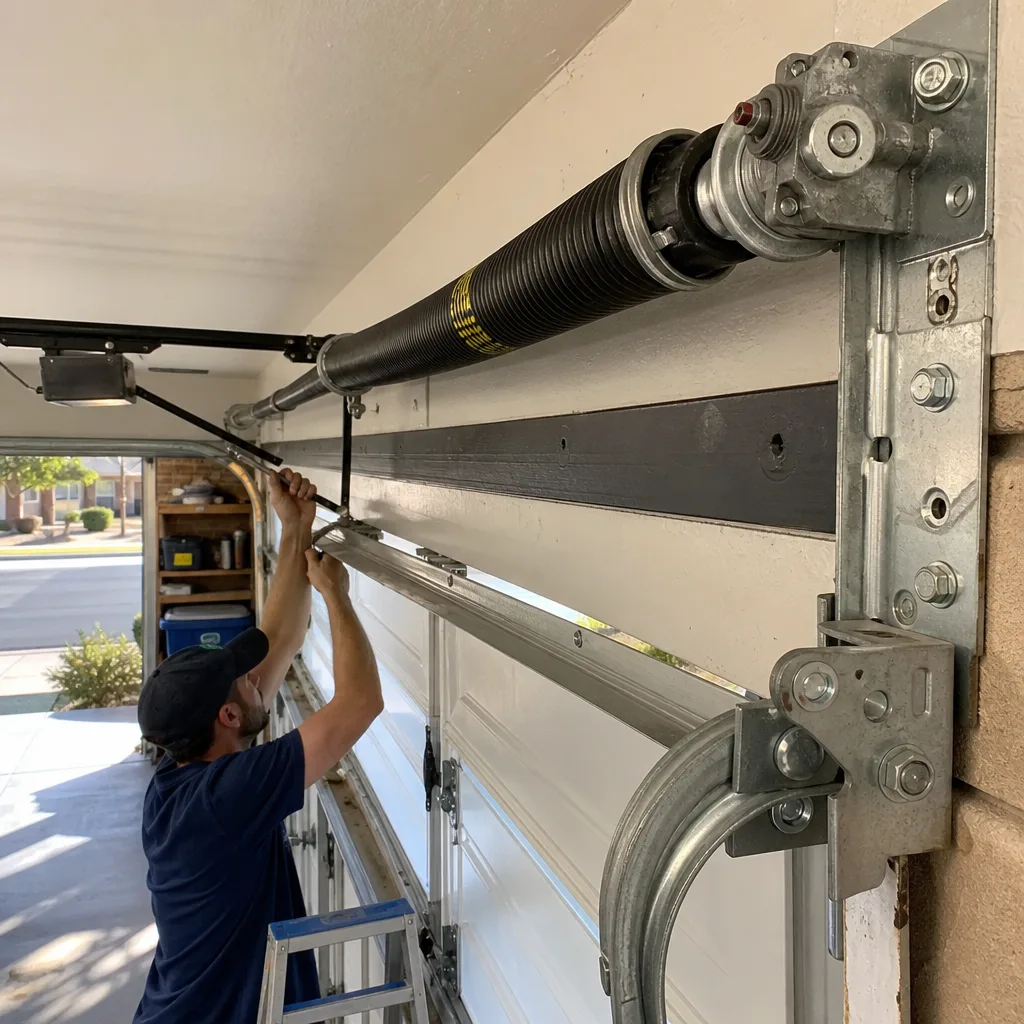
“Twang” is the word homeowners often use, and it’s accurate. A torsion spring, the coil on the metal shaft above the closed door, stores the energy that lifts the door. When a spring is fatigued or near failure, it can produce a short, metallic ping or twang during the first foot of movement as the coils settle against each other. A healthy torsion spring is nearly silent. If you hear a twang on opening, have it inspected. A spring that fails while the door is moving releases its stored energy suddenly, and that is genuinely dangerous. Do not attempt to inspect or adjust a torsion spring yourself. The tension involved can cause serious injury. This is a stop-using-the-door-and-call symptom.
Opener Chain Slap
Chain slap is a loose, hollow rattling from the center of the opener rail, the metal track that runs from the motor to the door. It sounds different from everything else because it comes from above, not from the sides. The chain, which pulls the trolley carriage along the rail, has stretched slightly over years of use. The slack makes it contact the rail. It is mostly an annoyance until it isn’t: a chain with enough slack can skip teeth on the sprocket. The fix is chain tension adjustment, a ten-minute job for a technician. In our experience, about a third of “noisy opener” calls in Tempe are actually just chain slap.
Hinge Pop
Hinges pop when a door section binds against the next one. A single, sharp pop at a predictable point in the travel arc usually means a hinge has loose rivets or a section has begun to separate from a stile. This is structural, not mechanical, and it tends to get worse. The section itself can start to crack. If you hear a hinge pop, note where on the door it happens, how far from the floor, and whether it repeats on every cycle.
For a deeper breakdown of what repair looks like for any of these symptoms, see our guide to Garage Door Repair in Tempe. If you’re not sure whether the source is the door or the motor, our Garage Door Opener Repair & Installation in Tempe page covers the opener side of things.
The Photo-Eye Misalignment Test: Sensor Problem or Wiring Fault?
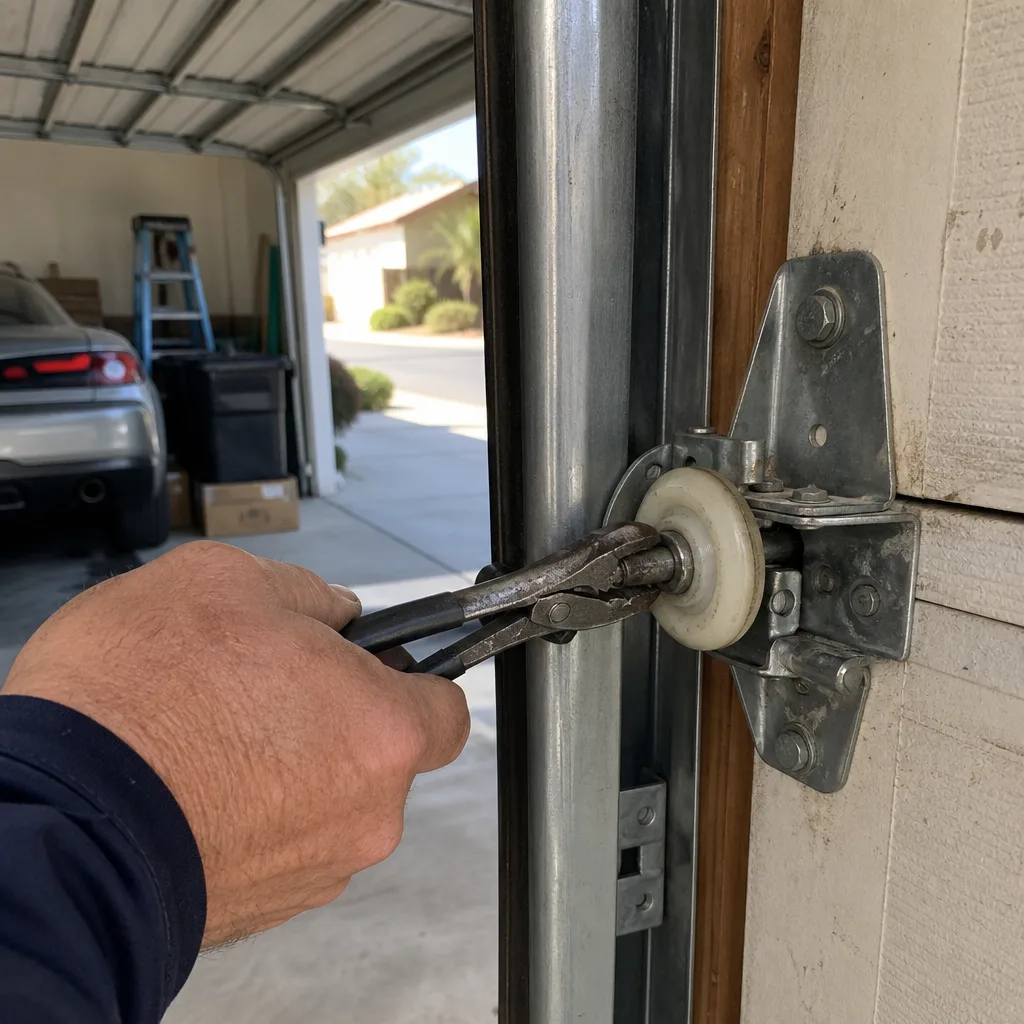
Photo eyes are the two small sensors mounted no more than six inches off the floor on either side of the door opening. They send an invisible beam to each other. If the beam is broken, the door will not close, or it will reverse immediately. When a Tempe homeowner calls and says the door “won’t go down,” this is the first thing we ask about. Here is how to tell the difference between a sensor that has simply been knocked out of alignment and a wiring fault that needs a technician.
Step 1: Check the Indicator Lights
Each photo eye has a small LED. On most LiftMaster, Chamberlain, Genie, and Raynor openers, one eye shows a steady green light, and the other shows a steady amber. This means the beam is aligned and the sensors are talking to each other. If either light is off, blinking, or dim, you have a power or wiring problem, not an alignment problem. If both lights are solid but the door still refuses to close, align the eyes using the next step.
Step 2: Check for the Alignment Tell
A steady light on one eye and a flickering light on the other is the classic misalignment signature. The flicker is the signal from the receiving eye struggling to stay locked onto the beam. This is often caused by someone bumping a sensor with a garbage bin, a bicycle, or a car bumper. The fix is to loosen the wing nut, rotate the sensor slightly until the second light steadies, and retighten. This takes two minutes.
Step 3: What Wiring Faults Look Like
If the flicker continues no matter how you adjust the sensor, or if a light is completely dead, suspect a wiring fault. In Tempe garages, we regularly find photo-eye wires that have been chewed by pack rats or nicked by something stored against the wall. A dead light is not an alignment issue. It means the sensor is not receiving power, and the repair is different: the technician traces the wire back to the opener head, finds the break, and splices it correctly. Do not strip and re-splice low-voltage photo-eye wiring yourself unless you are comfortable with the opener’s wiring schematic, because reversing polarity on the terminals can damage the logic board.
What This Symptom Is Not
Photo-eye problems do not cause grinding, do not affect opening, and do not make noise. They only prevent closing. If your door makes noise and also refuses to close, you probably have two separate issues. A service call should address both.
Asymmetric Movement: When One Side Lags the Other
Watch the bottom edge of the door while it travels. The left and right sides should be level with each other at every point in the cycle. When one side dips or climbs faster than the other, the door is said to have asymmetric movement. This is one of the few symptoms that should stop door use immediately.
Why It Happens
There are exactly three plausible causes, and all of them are mechanical, not electrical:
- A cable has begun to slip on its drum. The lift cables run up the sides of the door and wrap around the cable drums. When one cable loses tension or slips a groove, that side of the door drops.
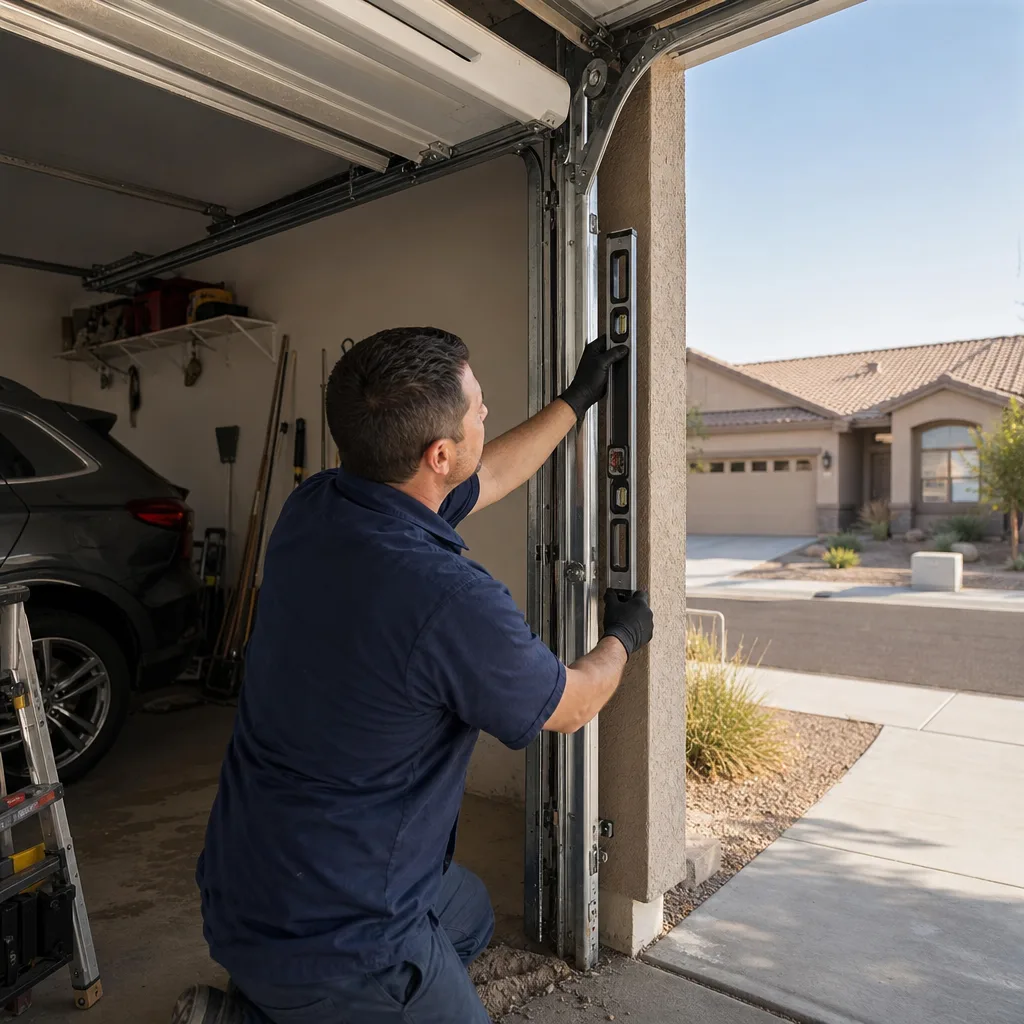
- A torsion spring is losing strength on one side. Torsion springs, particularly two-spring systems, apply balanced torque. When one spring fatigues, the side it serves lags.
- A track has shifted out of level. If the vertical track on one side has been knocked, perhaps by a car bumper, the roller on that side meets resistance at a specific point and the door pivots around it.
We have seen all three in Tempe, but the cable-slip version is the most dangerous. The door is effectively being held by one cable. If that remaining cable fails, the door drops.
What To Do
Stop using the door. Pull the manual release cord, the red rope hanging from the opener rail, only if the door is fully closed and you can do so without putting your hands near the springs or cables. The door will stay on the floor. Then call a technician. This is not a symptom to watch for another week to see if it “settles.” It will not settle.
When a door is this far out of balance, the conversation sometimes turns to replacement. If that’s where you are, our Garage Door Installation in Tempe guide walks through what a properly installed door should look like, including what we document before any work begins.
Tempe-Specific Weathering: The Dust Stage vs. The Crack Stage
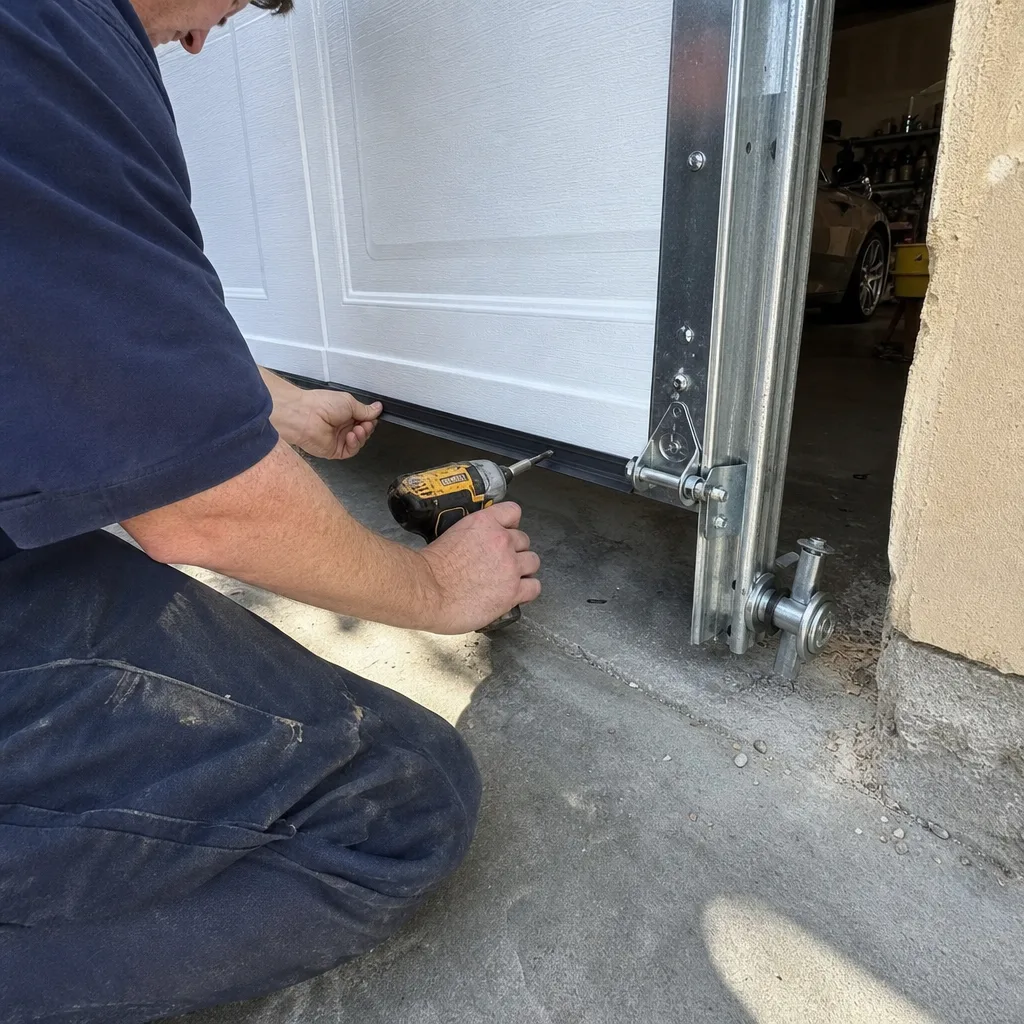
Tempe’s climate is a specific stress test. The summer heat sits north of 105 degrees for weeks, the monsoon humidity swings arrive in July and August, and fine desert dust gets into everything. The component that takes the most cosmetic abuse is the perimeter weather seal, the rubber strip that runs along the bottom of the door and the vinyl seals that line the top and sides of the opening. For a full maintenance calendar, see our Seasonal Garage Door Care for Tempe: Year-Round Homeowner’s Guide.
What the Dust Stage Looks Like
Before a top corner seal visibly cracks, it begins to leak. You’ll notice a fine line of desert dust on the garage floor along the top corner, usually on the side of the door that catches the sun beginning in the early afternoon. In Tempe homes built before 2015, especially in the older pockets north of University Drive, this dust line appears several months before the seal itself splits. At this stage, the seal has hardened and started pulling away from the frame at a spot where the sun hits it for the most hours.
Catching the seal at the dust stage is a material difference in cost. Replacing a top corner seal section typically runs $40 to $80. If the seal goes fully brittle, cracks, and falls away, the repair often requires pulling and replacing the full seal run, which pushes the bill to $140 or more. This is the single best example of early detection saving real money on a Tempe garage door, and it is not something most national guides mention because they are not written by people who live in a city with 300-plus days of sun a year.
What the Crack Stage Looks Like
The crack stage is obvious: the seal is split, flaking, or gone. By the time it reaches this point, dust and monsoon rain get in, and in July and August the humidity that gets trapped inside a closed garage speeds up rust on the hinges and brackets. It is still a routine fix, it just costs more.
The lesson is simple. Run your eyes along the top corners of the door opening once a season. If you see a dust line forming where the seal meets the frame, you’ve caught a problem in its cheapest possible window.
The Balance Test: How to Check Spring System Health Without Tools
Springs do not announce their failure the day before. They fatigue slowly, and the classic early symptom is a door that is no longer balanced. A balanced door, when disconnected from the opener and stopped at mid-height, stays roughly in place. An unbalanced door drifts up or down. Here is the test. It takes two minutes and requires no tools.
- Close the door completely. Ensure nothing is in the way and no one is standing under the door’s path.
- Pull the manual release cord. This is the red rope hanging down from the opener rail. Pull it straight down to disengage the trolley carriage from the opener. The door is now operating manually.
- Lift the door to approximately waist height, then let go. Keep your hands close but not on the door. A healthy door stays within a few inches of where you stopped it. It may drift slowly, but it should not run away from you.
- Observe the drift. If the door drops noticeably toward the floor, the springs are losing tension and the door is heavier than the spring system can support. If the door climbs toward the ceiling, the springs are likely over-wound or you may have a door that was never balanced correctly after installation.
- Re-engage the opener. Pull the release cord again, or run the opener until the trolley carriage re-latches. On most LiftMaster, Chamberlain, and Genie openers, pressing the wall button once after the test will re-engage the carriage automatically.
Pass/Fail Criteria
Pass: The door stays within two to three inches of waist height for at least thirty seconds with no significant drift in either direction.
Fail: The door drifts more than a few inches in either direction, or it accelerates as it moves. A door that drops quickly is a spring system at or near the end of its service life. A door that rises on its own may have springs that are over-wound, which is equally hard on the opener.
If the door fails this test, stop using the opener. The opener is now lifting a door that is too heavy or fighting a door that is too light, and continued use will kill the opener gears, the logic board, or both. Spring replacement is a job for a trained technician. The energy stored in torsion springs is not something to learn about hands-on.
Garage Door Opener Warning Signs: Logic Board, Gears, Travel Limits
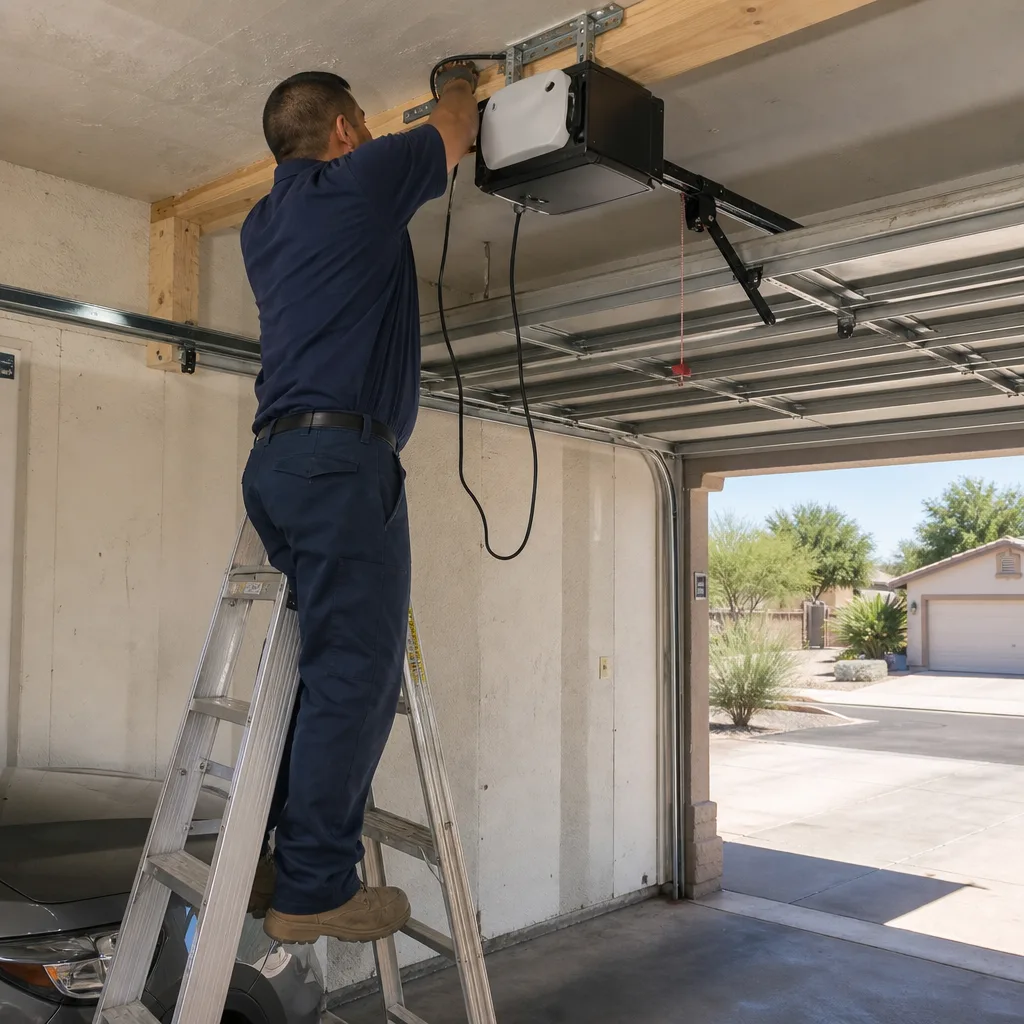
The door and the opener are two different systems, and their warning signs are easily confused. The opener has its own failure modes, and knowing which side of the system is talking saves you from replacing the wrong component.
The Logic Board: Erratic Behavior
The logic board is the small circuit board inside the opener head. When it starts to fail, the opener behaves erratically: it opens when you press the close button, it reverses for no reason, or it stops mid-cycle and refuses to respond for several minutes. In our experience, heat is a factor. Openers mounted in uninsulated Tempe garages, where interior temperatures exceed 120 degrees in summer, cook their logic boards faster than openers in shaded or insulated garages. If the opener behaves differently on hot afternoons than it does in the morning, that is a strong tell. The fix is board replacement, and on a Genie or Chamberlain opener that is usually less expensive than replacing the whole unit.
The Gear Assembly: A Whine That Peaks
Inside the opener is a gear-and-sprocket assembly that translates motor rotation into chain or belt drive. When the gears wear, the opener produces a whine that peaks mid-travel, not at the start or end. It sounds like an electric drill running dry. Left alone, the gear teeth strip entirely and the opener runs without moving the door. This is a common failure point on older LiftMaster and Chamberlain models, and it is a repair we perform regularly. The typical cost to replace the gear assembly is $180 to $300, depending on the opener model.
The Travel Limits: Opens Too Far or Stops Short
Travel limits are the settings that tell the opener how far the door should move before reversing direction. When they drift, the door may open fully and then continue to push against the opener rail for a second, or it may stop four inches short of the floor, leaving a gap. On newer openers, limits are set digitally. On older units, they are set with screws on the opener head. If your door has begun stopping in the wrong place and no one has physically changed its travel, the limit switch is a candidate. This is a simple adjustment, but it should be done by someone who can confirm the door is balanced first, because changing travel limits to compensate for a failing spring system masks the door problem and creates an opener problem.
Common Mistakes to Avoid
- Reporting “a weird noise” without locating it. Put your ear near the left drum, then the right, then the center rail. The location of the sound tells the technician which component to photograph first. A five-word report is not information; a location and a trigger are.
- Lubricating a grinding drum with WD-40. WD-40 is a solvent and a water displacer, not a garage door lubricant. It strips the existing grease and accelerates bushing wear. Use a silicone or lithium grease on the correct points only.
- Replacing the batteries in the remote before checking the photo eyes. Most “the door won’t close” calls in Tempe are photo-eye issues, not remote issues. Check the sensor lights first.
- Using the opener as a substitute for balance checking. The opener is not a diagnostic tool. It will fight an unbalanced door until the gears fail. The two-minute balance test described above is the better check.
- Ignoring a hinge pop because “it’s been doing that for a while.” Hinge pops mean a section is binding. The longer it binds, the larger the crack when it finally appears, and a replacement section costs more than a hinge rebuild.
- Waiting for the weather seal to crack before replacing it. The dust line on the top corner is the early warning. Catching it saves around $100. This is one of the few garage door repairs where waiting is measurably more expensive.
- Calling a contractor who quotes over the phone without seeing the door. A phone quote on spring replacement is a guess. A written price after seeing the door with the failed component in hand is a quote. Clause 1 of The Haven Standard exists because of this exact problem.
When to Call a Professional
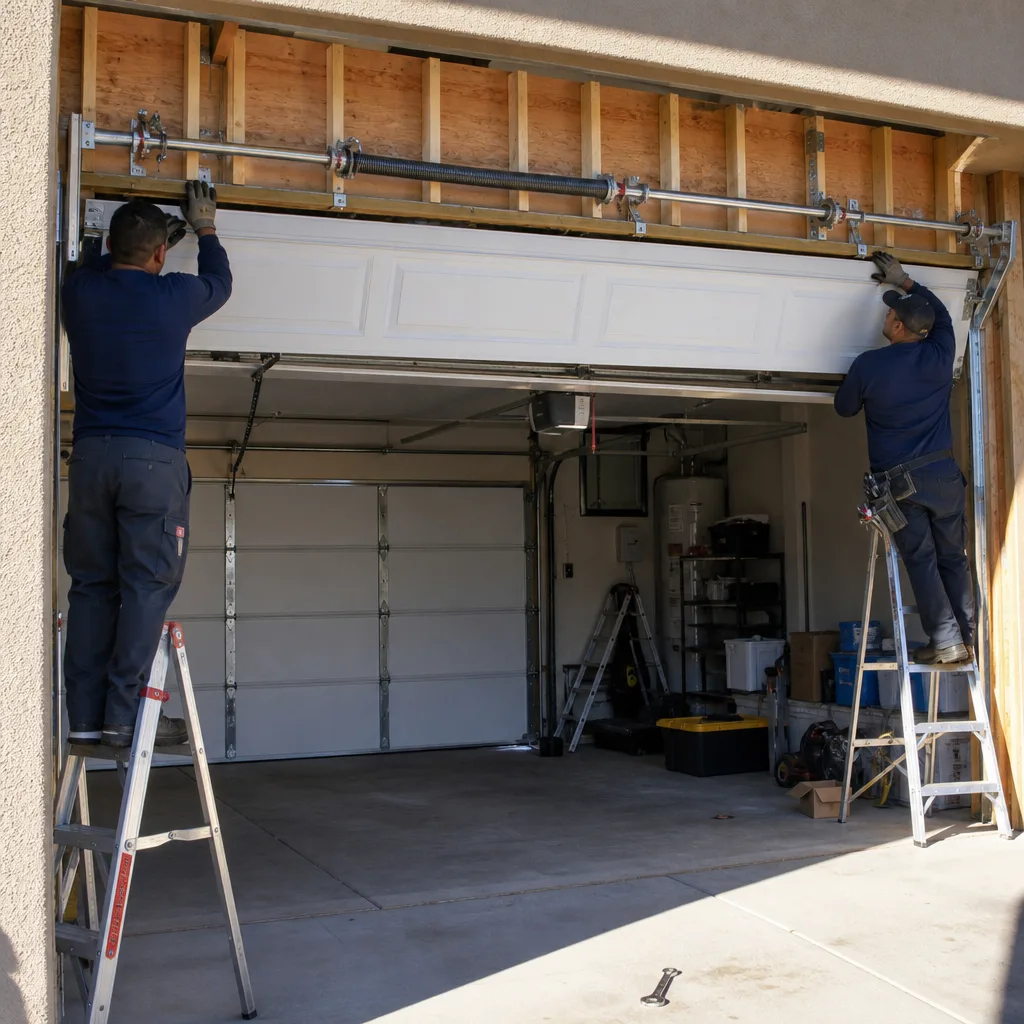
Call a professional the same day if the door drifts when disconnected and stopped at mid-height, if one side of the door lags the other during travel, if you hear a twang from the torsion springs, or if the opener produces a grinding whine that peaks mid-cycle. For more guides & resources, visit our blog. These are not “watch and see” symptoms. Call a professional within the week if the door scrapes from the rollers, if the chain slaps, if the top corner seal shows a dust line, or if the opener’s travel limits have drifted. Servo Garage Doors Tempe offers free estimates in Tempe, with a flat written price before any work starts, so you’ll know the number before you commit. Call (602) 962-8352.
Frequently Asked Questions
Torsion spring replacement in Tempe typically runs $180 to $340, depending on the spring’s wire diameter, length, and whether the door uses a one-spring or two-spring system. This range includes the springs and installation. You should receive a written price before any work begins. Call (602) 962-8352 for an exact quote, which is free and includes a photo of the failed spring before any replacement is quoted, per Clause 4 of The Haven Standard.
Yes, in most cases. We carry the most common torsion springs, rollers, hinges, cables, and opener parts on the truck, so a single-trip repair is usually possible. For less common parts or custom door sections, we’ll give you a written price and a schedule before any work starts. Call (602) 962-8352 and you’ll reach a live person, not a recording.
No. Clause 1 of The Haven Standard requires a flat, written price and written scope before any work begins. If the repair reveals something additional, the additional work is quoted separately in writing before it is done. The price you approve is the price you pay. That is how every job works at Servo Garage Doors Tempe.
Grinding near the cable drum on either side usually means a dry bushing or a cable walking out of its groove. Grinding from the center of the door can mean roller bearing wear. Grinding from the opener head usually means the gear assembly is failing. Each has a different fix and a different urgency. Identifying the location of the sound is the first diagnostic step.
Standard torsion springs are rated for 10,000 cycles, which translates to roughly 7 to 10 years for a door that cycles twice a day. Tempe’s heat does not directly shorten spring life, but it shortens the life of the lubricant on the springs and bearings, which accelerates wear on adjacent components. If your door is over 7 years old and has never had a spring inspection, it is due for one.
We service and stock parts for LiftMaster, Chamberlain, Genie, Clopay, Amarr, Wayne Dalton, Craftsman, and Raynor, plus most other brands still in service in the Tempe area. If we do not have a specific part on the truck, we’ll source it and give you a written price before ordering. We also offer a free second opinion on any written estimate from another company; bring the paperwork and we’ll go through it honestly.
The Bottom Line
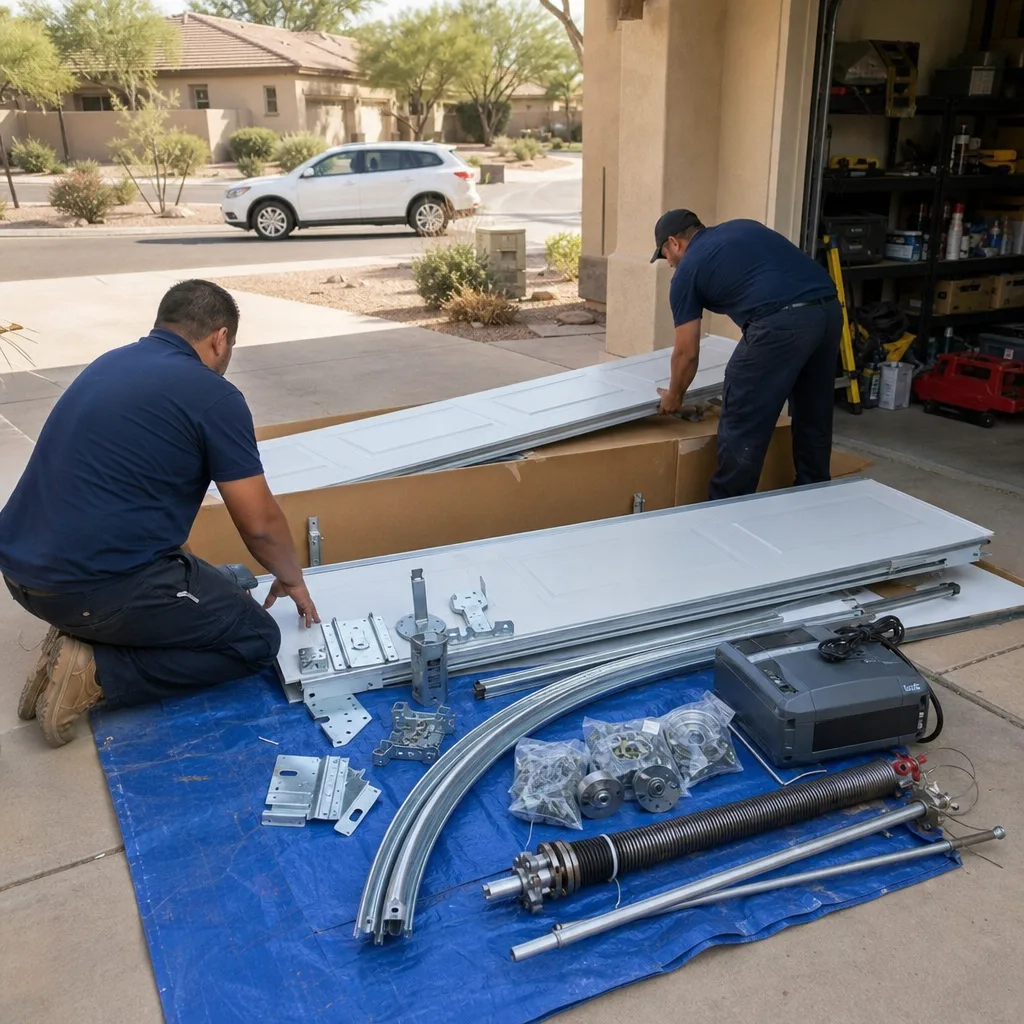
Garage door warning signs are not vague. They have a location, a trigger, and a sound signature, and once you know how to read them, you can report them in a way that saves the technician time and saves you money. A dust line on the top corner seal costs $40 to fix. A twang from the torsion spring is a stop-use symptom. A door that drifts at mid-height is telling you about the springs before they fail. The most valuable thing you can do as a Tempe homeowner is learn to name what you observe. The second most valuable thing is calling someone who writes down what they find. Our Servo Garage Doors Tempe home page explains how the whole documentation system works, from the photo record to the written price. And if you’re looking at a repair that isn’t on this page, the Garage Door Repair in Tempe guide covers the full range.
Written by Marcus Deller, Owner at Servo Garage Doors Tempe, serving Tempe since 2015.